When you purchase through links on our site, we may earn an affiliate commission. Here’s how it works.
How to Transfer Files From iPhone to Computer Without iTunes
During the last couple of years, Apple has started distancing itself from iTunes while adopting wireless data transfer methods. In all honesty, iTunes was never a highly polished application, suffering from bloatware for a very long time. With that said, it doesn't come as a surprise to know that you can transfer files from an iPhone to a computer without iTunes – and we're going to show you how.
3 Ways to Transfer Files From Your iPhone to Your Computer – Without iTunes!
It's time to leave iTunes behind finally. Instead, you can count on third-party applications (many of which come highly polished). And of course, some methods don't require any additional software, which we'll show below. Let's jump right in, shall we?
Method #1: Use Third-Party iOS File Manager (For Your Computer) Instead of iTunes
First, a word of caution. You should be careful about letting third-party apps access your data. That's why we're going to give you a recommendation in this article, based on our experience. If you decide to use some other app, make sure to check its reputation. With that said, here's what you need to do.
- For the purpose of transferring files between your iPhone and computer, we recommend Dr. Fone by Wondershare. This application can be used for free, and it’s available for both Windows and macOS. So, use the provided link, and then download and install Dr. Fone on your computer.
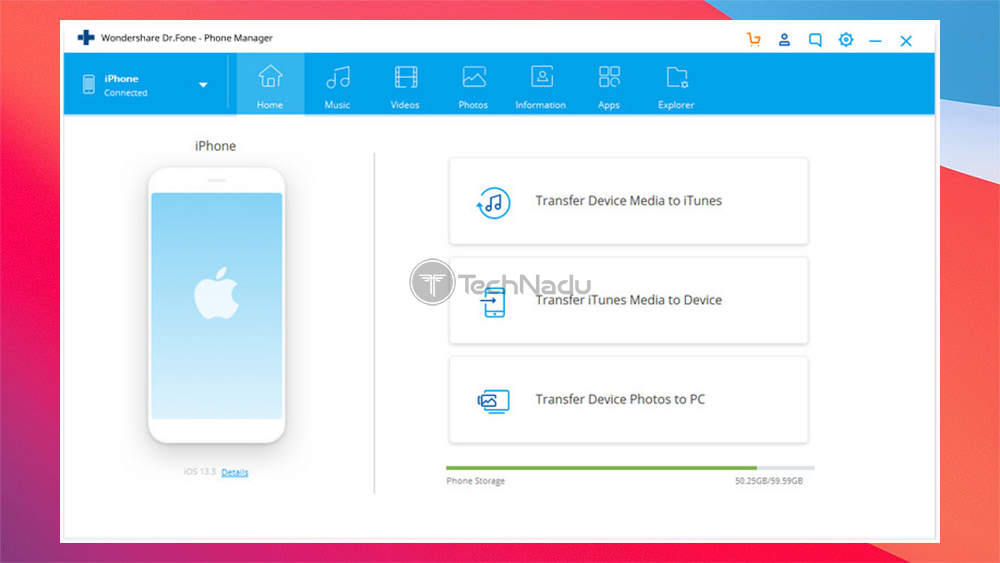
- Launch the application, and its colorful home screen will greet you. As you'll see, Dr. Fone allows you to do more than just transfer data between your phone and computer. However, we'll focus on that for now, so feel free to click on 'File Manager.' Wait until this module is downloaded, and then click to open it.
- If you haven’t done that already, now is the time to connect your iPhone to your computer (using a USB cable). If this is the first time you’re doing that, make sure to click on 'Trust' (using your iPhone) to authenticate this connection. Then, Dr. Fone will take a moment to connect.
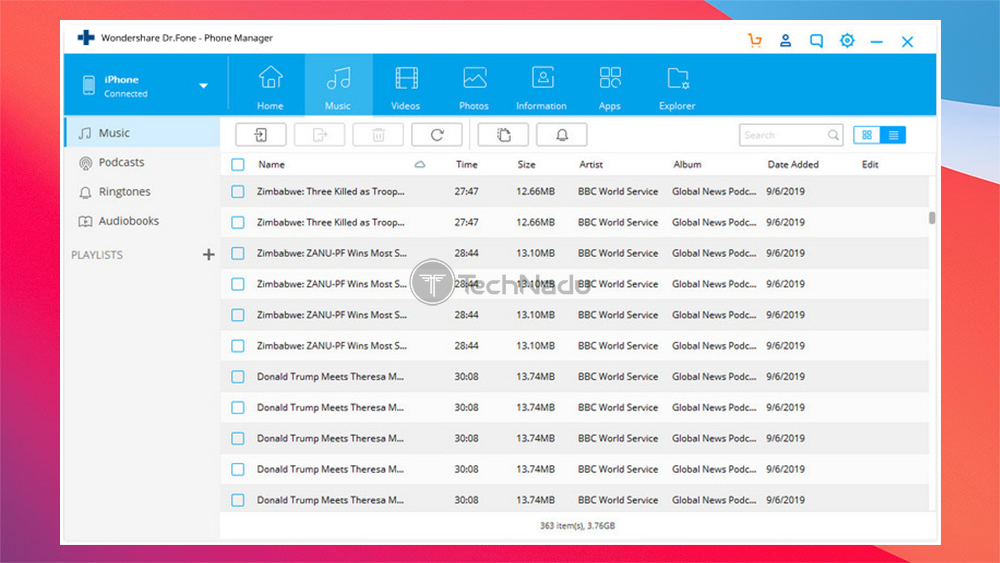
- At this moment, you should see a range of file types at the top of Dr. Fone’s interface. We’re talking about the following tabs: Home, Music, Videos, Photos, Apps, and Explorer. Therefore, make sure to pick a suitable category. And to illustrate this with an example, let’s say that we want to transfer some music. Therefore, we’ll click on 'Music' using the top-placed menu.
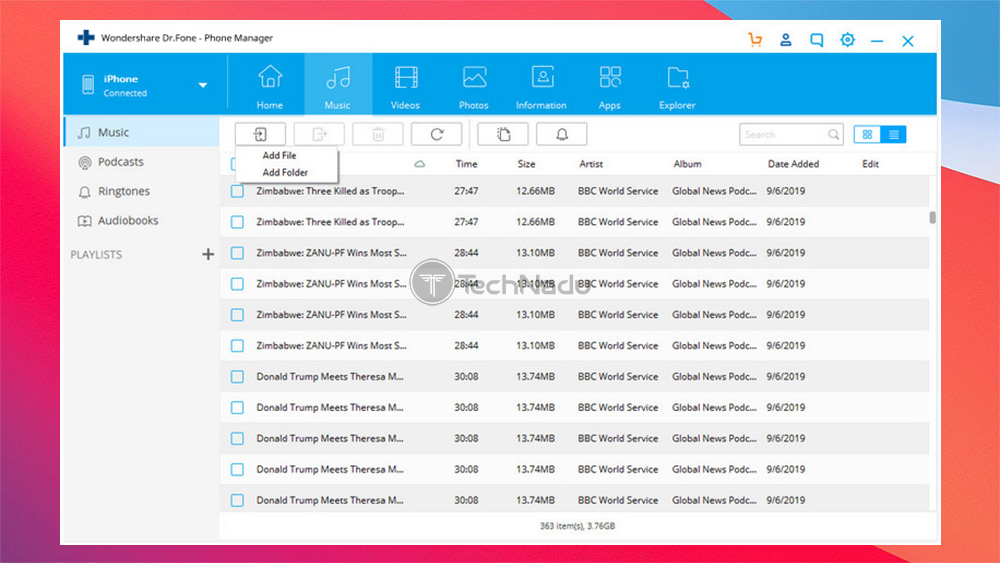
- If you'd like to add music to your iPhone, click on 'Add' (just below the blue-colored menu). Then, pick individual files or entire folders. Make your pick, select the files you'd like to transfer, and that's it. And if you want to transfer files from your iPhone to your computer, navigate to those files, select them, and then click on 'Export.'
Dr. Fone can do more than just move files between your iPhone and your computer. It can help you delete iOS/iPadOS apps (using the 'Apps' tab), as well as dive into your iPhone's file system (using the 'Explorer' tab). Therefore, it's a one-stop-shop for everything needed to handle your iPhone or iPad.
Method #2: Use iCloud to Transfer & Sync Files Between Your iPhone and Computer
It's also possible to use iCloud to move files between your iPhone and computer. However, we're not talking about Apple's fully automated iCloud here. Instead, we're talking about uploading and downloading files-on demand via iCloud for the Web. Here's how to make this work.
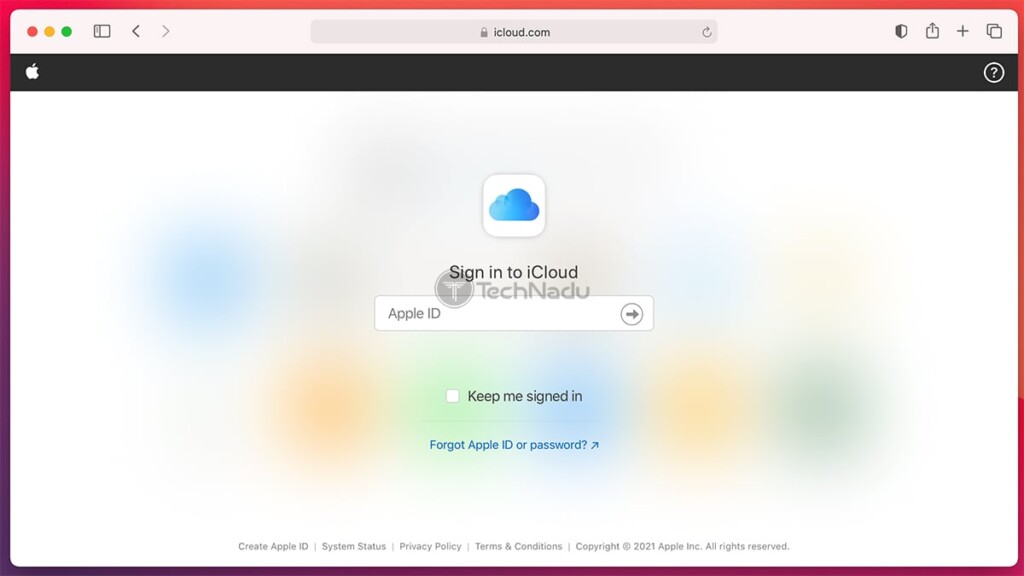
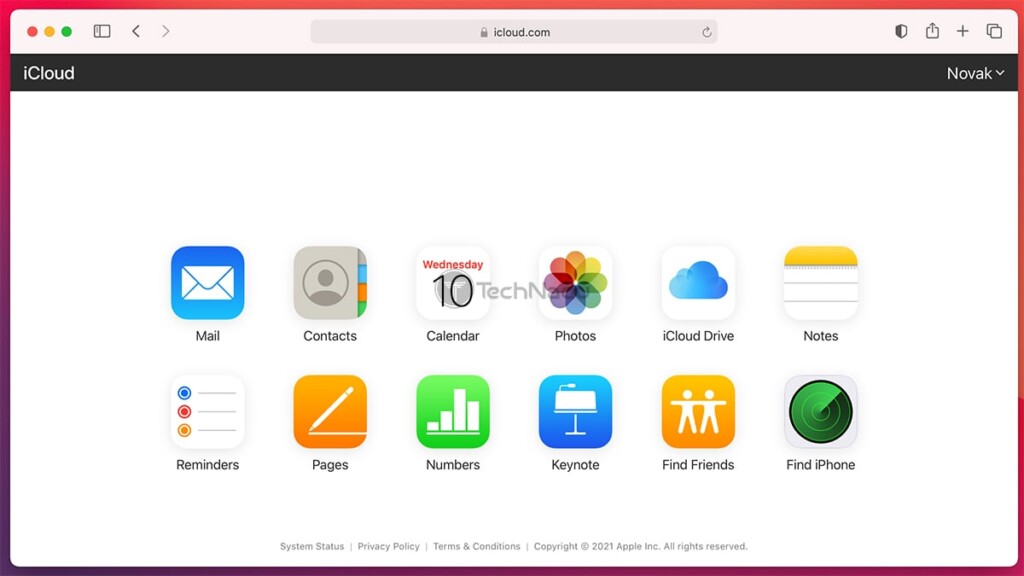
- Using any Web browser, feel free to visit the Web version of iCloud. Then, make sure to log in using the Apple ID associated with your iPhone (the one you want to access). Wait a couple of moments until your see iCloud's home page (a grid of icons).
- As you can see, iCloud for the Web lets you access only certain types of data. For example, you can use the built-in tools to transfer photos and notes. However, you can also create online reminders, calendar entries, check your contacts, and even create documents using Pages, Numbers, and Keynote. So, if you want to transfer photos (for example), make sure to click on 'Photos.'
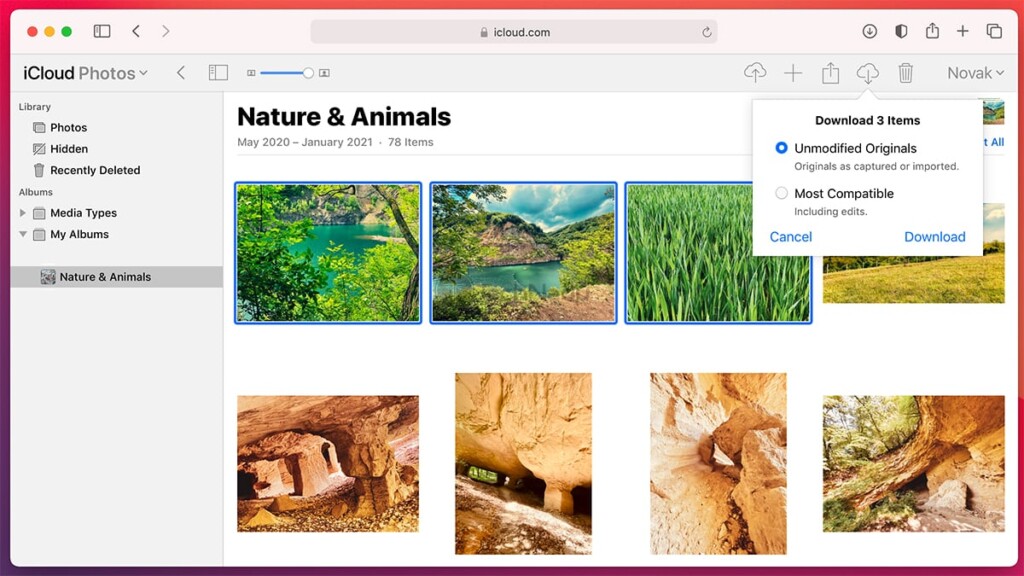
- At this moment, you can see all your photos (the ones stored on your iPhone). Feel free to upload and download pictures by dragging-and-dropping them onto this window. Alternatively, you can use the 'Download' and 'Upload' buttons at the top of the window. The same applies to other types of data.
- In case you want to send other types of data, you can click on 'iCloud Drive.' This works well for transferring music, documents, and other files. Anything you upload to your iCloud Drive will appear on your iPhone and iPad in the 'Files' app. That's how you can exchange just about any file type, even those that iCloud doesn't support natively.
Method #3: Use Email to Move Files Between an iPhone and Computer
Finally, we also have another recommendation concerning moving files from your iPhone to your computer. And yes, we're talking about email transfer. With that said, here's how to use this option to transfer different types of data.
- Depending on the type of data you want to transfer, you need to open a suitable app. If you're going to transfer photos, open the Photos app. And if you want to transfer notes, open the Notes app. And if you want to share documents, go with the Files app.
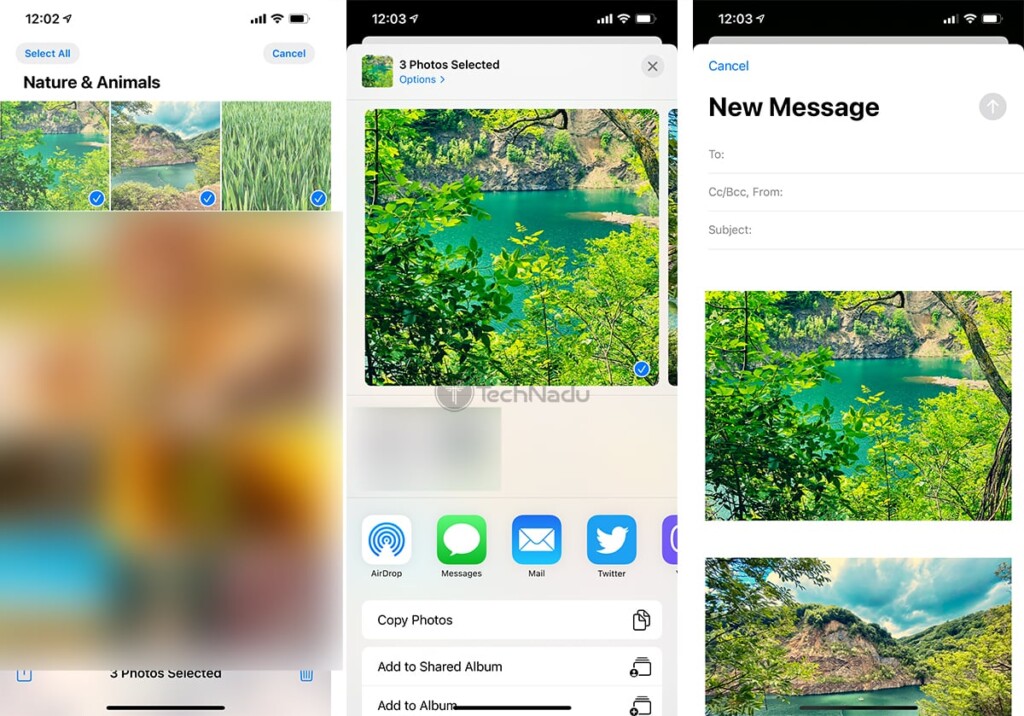
- Then, you need to select the files you'd like to transfer. To give you an example, we'll use the Photos app. Launch it, tap on 'Select' (top-right corner), and then select any photos (however, keep in mind that email transfer might be restricted, allowing you to upload up to 20MB of data per single email message).
- Once you’re happy with your pick, click on the 'Share' icon in the bottom-left corner. This will open iOS’ 'Share Sheet,' using which you need to tap on 'Email.' Then, enter the recipient’s email address (which should be your email address in this case) and send the message.
- Then, feel free to access your email account on your computer. Download the files and store them locally. That’s it! Of course, this type of file transfer works both ways, which means that you can use email to send files from your computer to your iPhone as well.
That would all on how to transfer files between your iPhone and your computer without iTunes. If you have any questions for us, know that you can always post a comment below. And finally, thanks for reading!

