When you purchase through links on our site, we may earn an affiliate commission. Here’s how it works.
How to Set Up a VPN on Chrome in 2025
The easiest way to set up a VPN on Chrome is to use an extension. However, nothing really beats using a native VPN application. That's because most VPN extensions for Chrome act as proxies, which means you won't get the best possible protection for your sensitive data. Therefore, you need to be very careful about which VPN you decide to combine with Chrome.
To give you all the freedom you need, we'll show you how to set up a VPN on Chrome using 3 methods. More precisely, we'll show you how to install a Chrome VPN extension, a native VPN app that helps you get the best possible protection, as well as a way to combine the two.
We'll also recommend some VPNs that we believe are worth your time and money. Using those, your Chrome browser will block trackers, eliminate malicious attempts to steal your data, as well as allow you to unblock websites.
So, let's jump right in!
How to Set Up a VPN on Chrome
It's time to reveal your options. As briefly explained above, there are 3 methods to set up a VPN on Chrome. Here they are:
- Method #1: Set Up a VPN Extension in Chrome
- Method #2: Use a Native VPN App on Your Device
- Method #3: Combine a VPN Extension With a Native App
Method #1: Set Up a VPN Extension in Chrome
Setting up a VPN extension in Chrome is really simple. However, use a reliable VPN and take your time to find a truly capable and trustworthy option. We'll provide a recommendation based on our tests. So, do the following:
1. You need an active VPN subscription. Go ahead and subscribe to Surfshark.
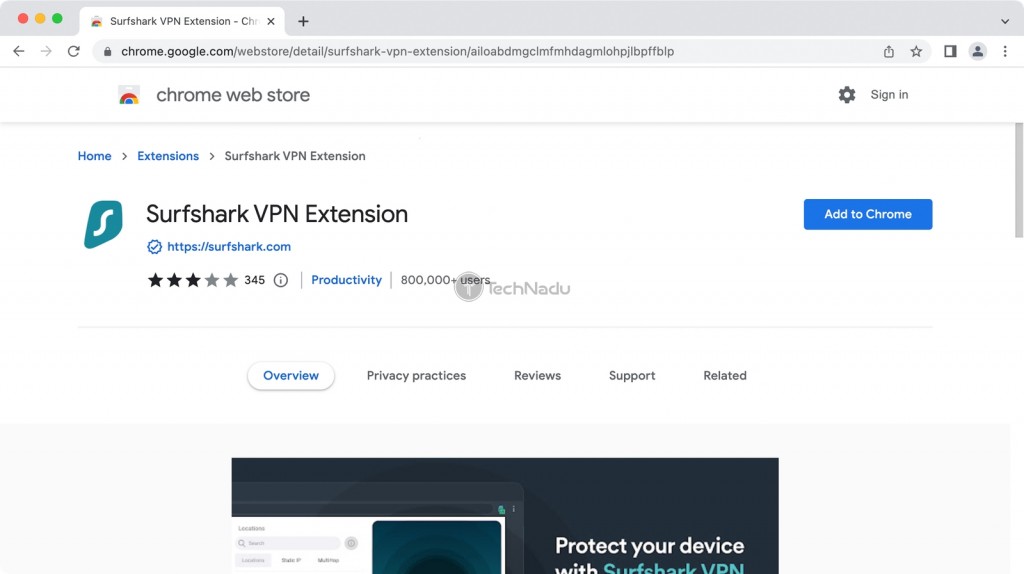
2. Then, navigate to Surfshark's listing on the Chrome Web Store.
3. Click "Add to Chrome."
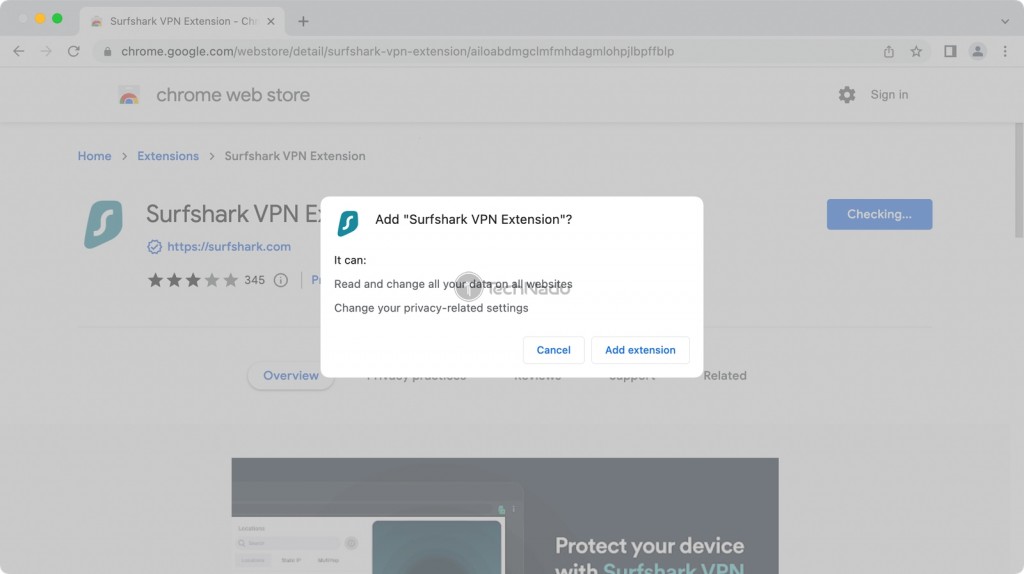
4. A pop-up will appear, asking whether you want to proceed. Click "Add Extension."
5. Wait a couple of moments until Surfshark's icon appears in the top-right corner.
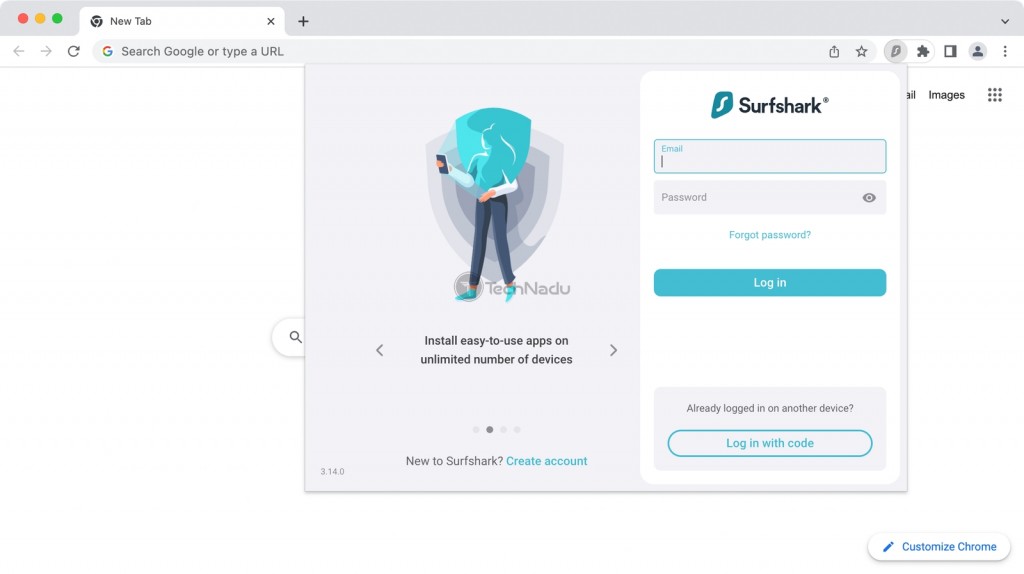
6. Click on the Surfshark icon to initialize the VPN extension.
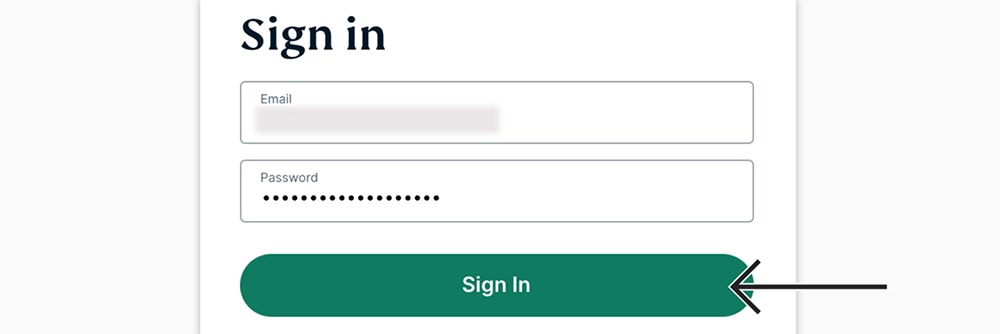
7. Provide your email and password to access your Surfshark subscription.
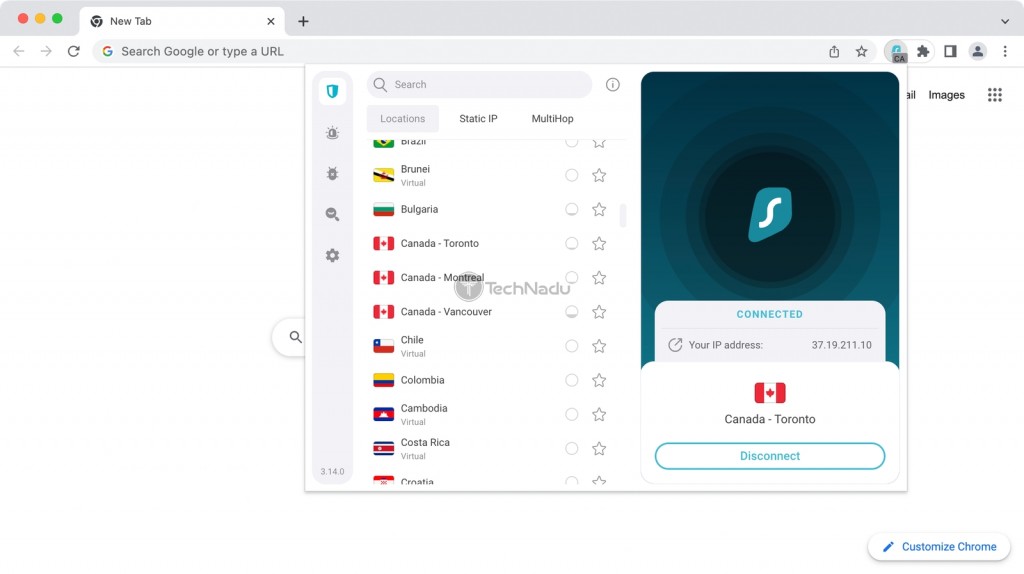
8. Click "Connect" to establish a connection to the nearest VPN server.
9. To pick a server manually, select the "Locations" tab on the left-hand side.
10. When you're ready to disconnect, click "Disconnect." That's it!
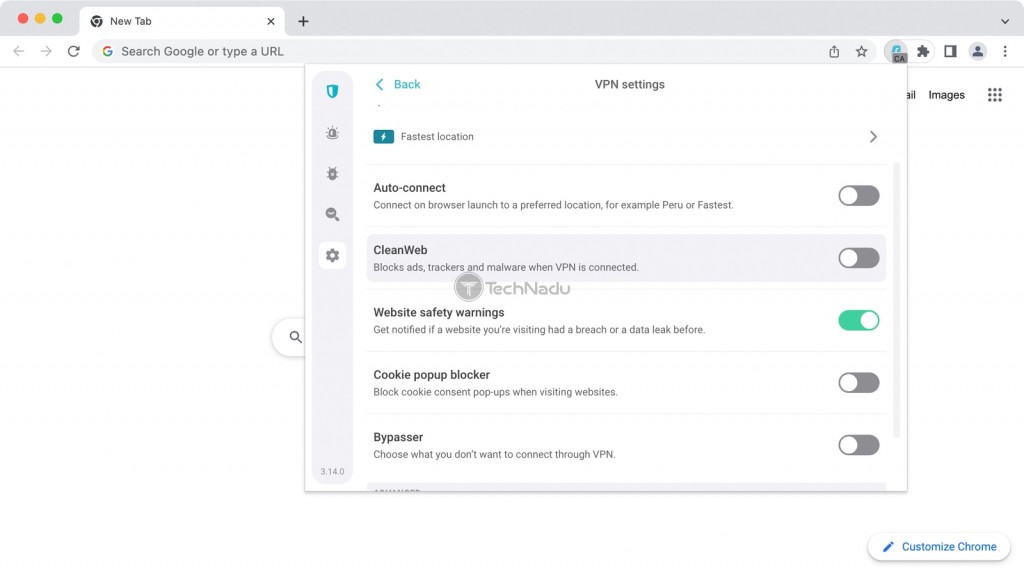
Surfshark goes beyond what a typical VPN extension offers. It can also block ads and prevent you from visiting malicious websites. To access those features, use the extension's settings button on the left-hand side.
Method #2: Use a Native VPN App on Your Device
If you're looking to protect your data beyond Chrome, you need something other than a typical VPN extension. You need a fully-featured VPN application, which should be powerful enough to encrypt all your Internet data. So, you'll want to do the following:
1. Pick a capable VPN that deserves your trust. Our recommendation is ExpressVPN. (You can also try it risk-free for 30 days.)
2. After you subscribe, return to the home page of ExpressVPN's website.
3. Click "My Account" and access your ExpressVPN account dashboard.
4. Select "Set Up Other Devices." Then, pick your platform on the left.
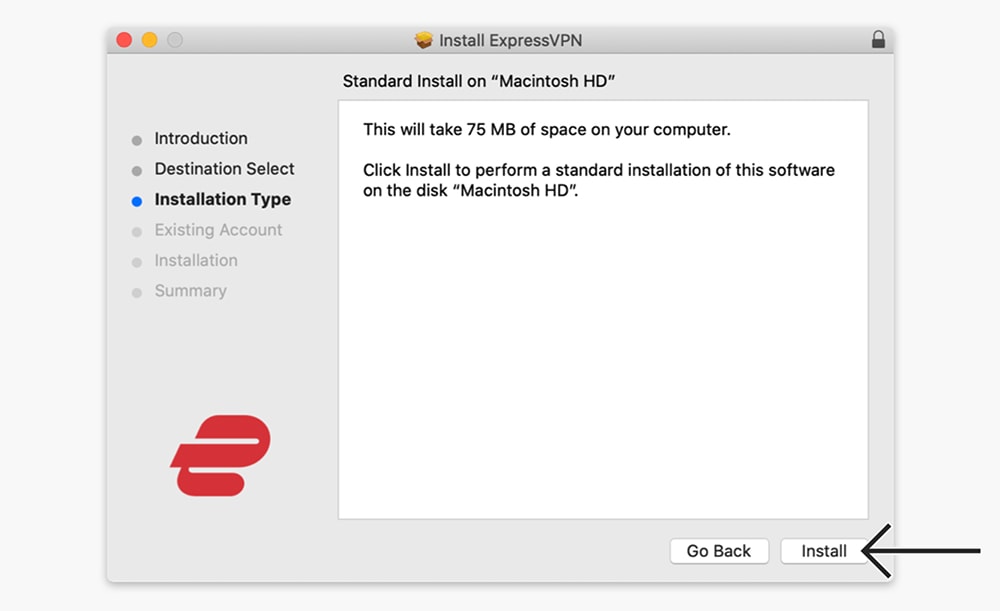
5. On the right, you'll see the instructions on how to download and install the VPN.
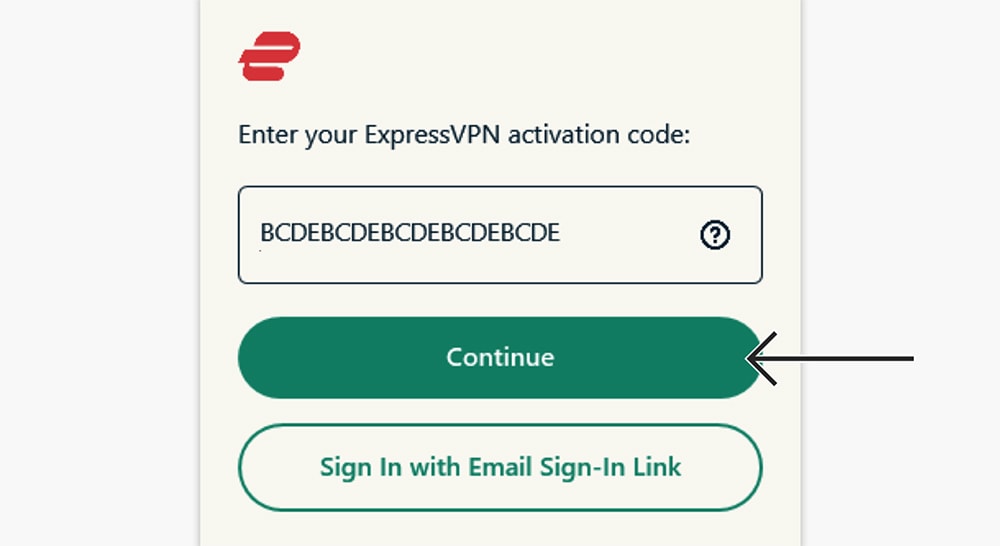
6. Launch the VPN app and log in using your ExpressVPN activation code.
7. Complete the initial one-time setup by following what ExpressVPN says on your screen.
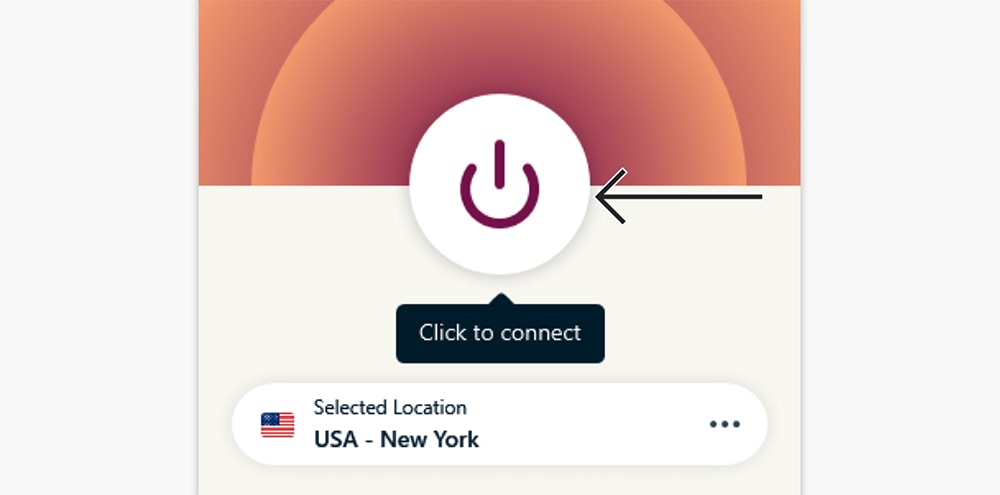
8. When you reach the app's home screen, use the ON/OFF switch to connect.
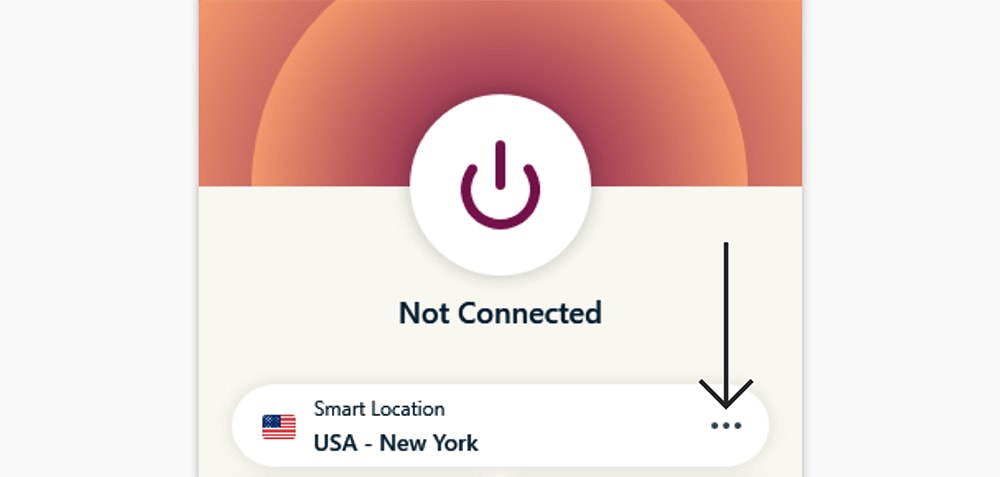
9. You can pick a location manually using the button below the ON/OFF switch.
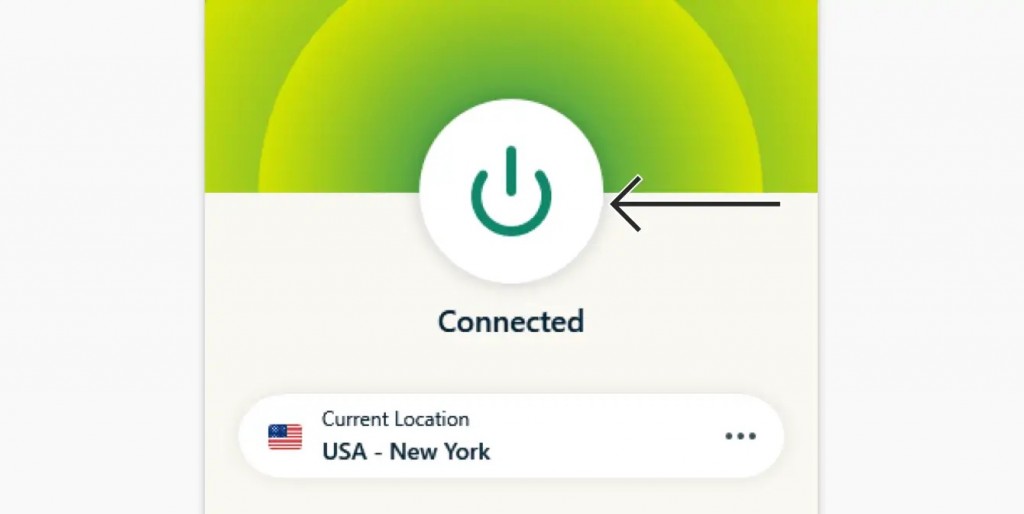
10. When you're ready to disconnect, use the ON/OFF switch again.
The above-explained method allows you to install a VPN application and run it independently from Chrome. Aside from protecting your Web data that doesn't "flow" through Chrome, this method also helps you avoid installing a Chrome extension, which means that your browser's performance stays intact.
Method #3: Combine a Chrome VPN Extension With a Native VPN App
If you want to get everything your VPN offers, you can combine a VPN extension with a native VPN application. However, only a handful of VPNs do this in the best way possible. You'll want to do the following:
1. Subscribe to ExpressVPN, which integrates its Chrome extension with its native app.
2. Then, here's how to install ExpressVPN's native application on your device.
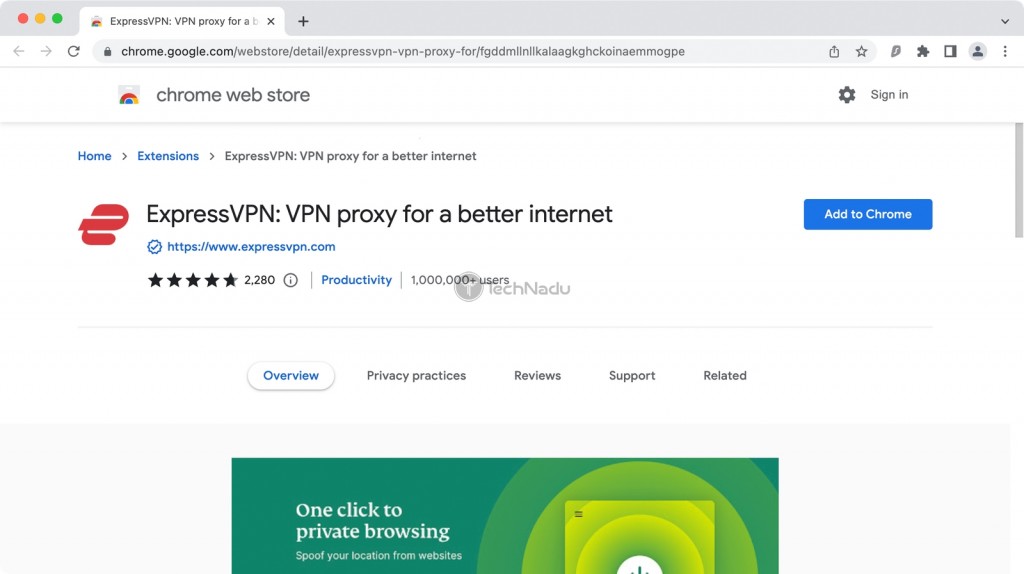
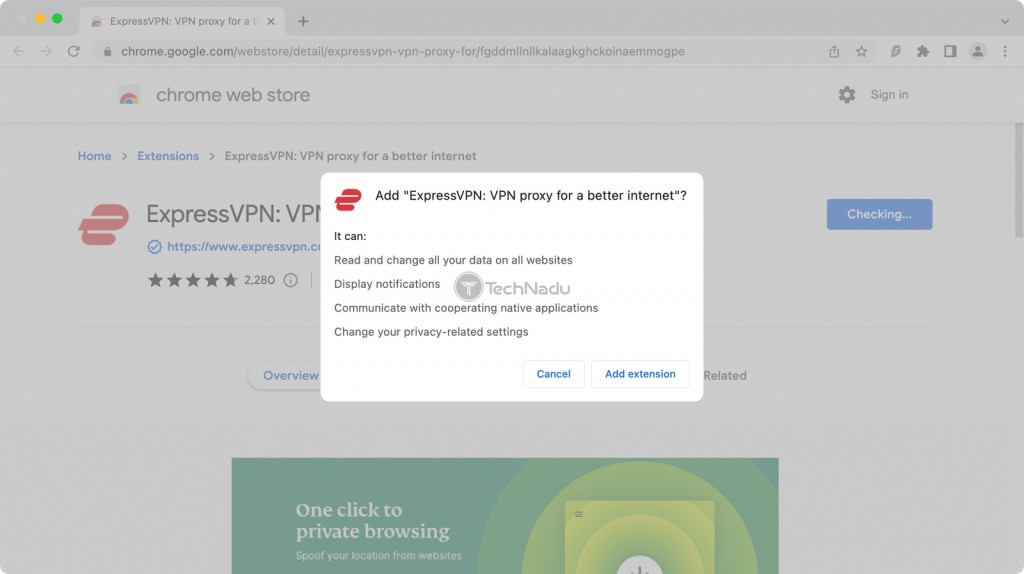
3. Use Chrome to open ExpressVPN's listing on Chrome's Web Store.
4. Click "Add to Chrome" on the right-hand side.
5. You'll be asked to confirm your decision. Click "Add Extension."
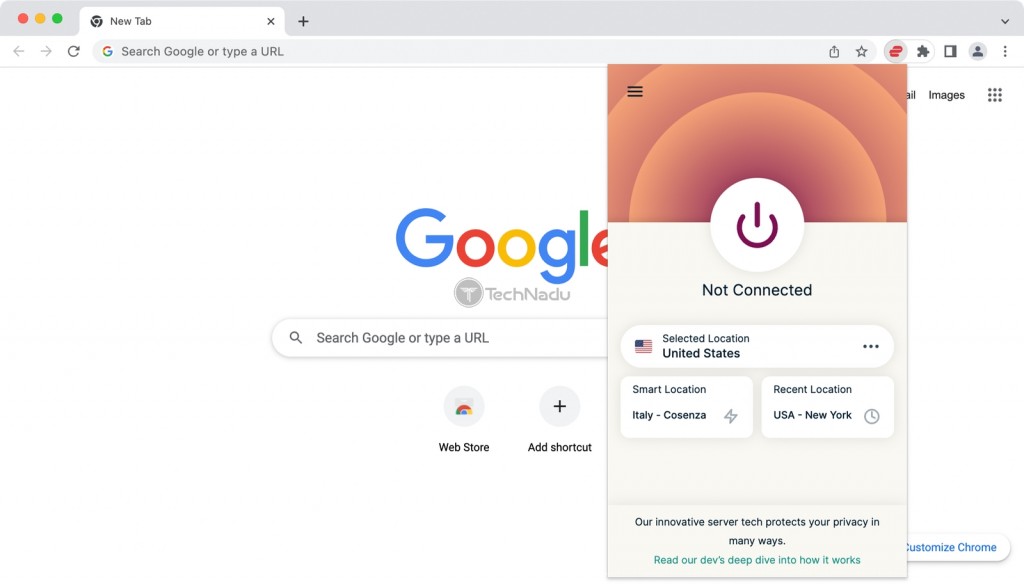
6. ExpressVPN's icon will appear in the top-right corner after a few minutes.
7. Activate the extension and then log in using your ExpressVPN credentials.
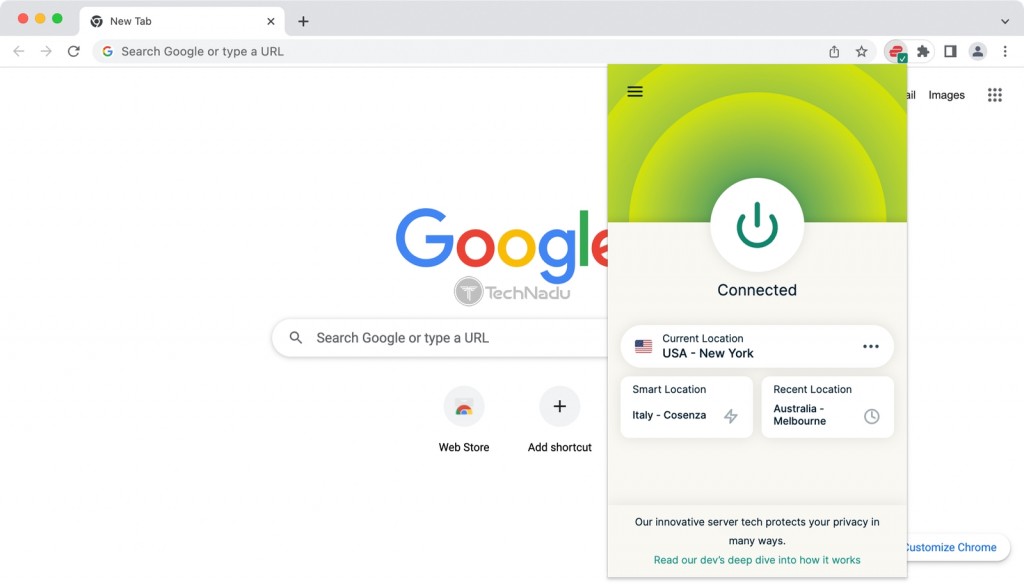
8. Use the ON/OFF switch to connect to the nearest server.
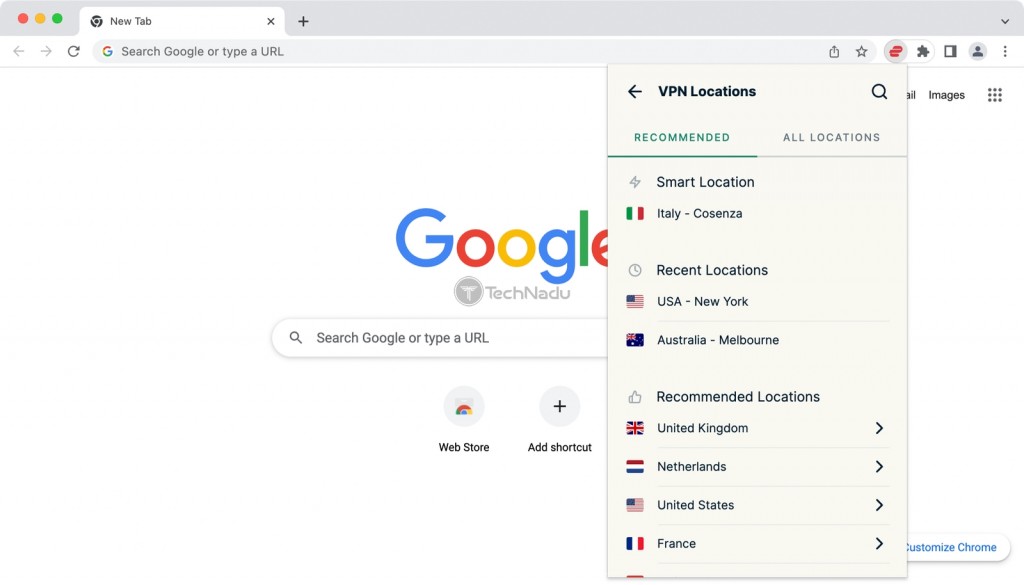
9. Click the button below the switch to pick another VPN location manually.
10. When you're ready to disconnect, use the ON/OFF switch again. That's all!
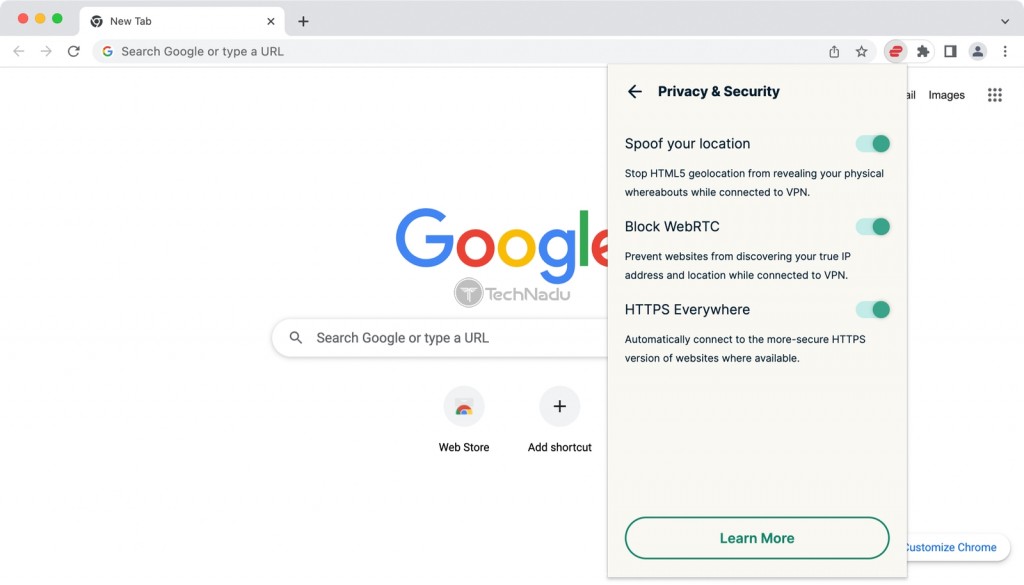
Remember that ExpressVPN's extension is a gateway to its app (that you have installed on your computer), so you get 256-bit AES encryption, protection against any Web leaks, and WebRTC leak protection. The extension will also check if you connect to HTTPS websites (great for preserving your privacy).
To take advantage of all its features, visit the extension's settings using the "hamburger" button visible in the top-left corner of its interface.
Final Thoughts
We hope this guide has resolved any doubts you might have about setting up a VPN on Chrome. With that said, we recommend always going for the highest level of protection you can get. That means we recommend going with ExpressVPN.
ExpressVPN gives you 2 different ways to set up a VPN on Chrome. It's highly capable and reputable, without sacrificing your privacy in any way. That's why it's the best VPN for Chrome. You can also try ExpressVPN risk-free for 30 days.
In the end, check our central guide on setting up a VPN if you wish to cover other platforms as well. You'll find more than 60 platforms and devices covered in that guide.
So, that would be all on how to set up a VPN on Chrome. We hope you've found this guide to be helpful and informative. In case of any issues or additional questions, let us know via the comments section below. We'll do our best to respond as soon as possible.

