9 Ways to Fix the “NordVPN Background Process Is Not Running” Error
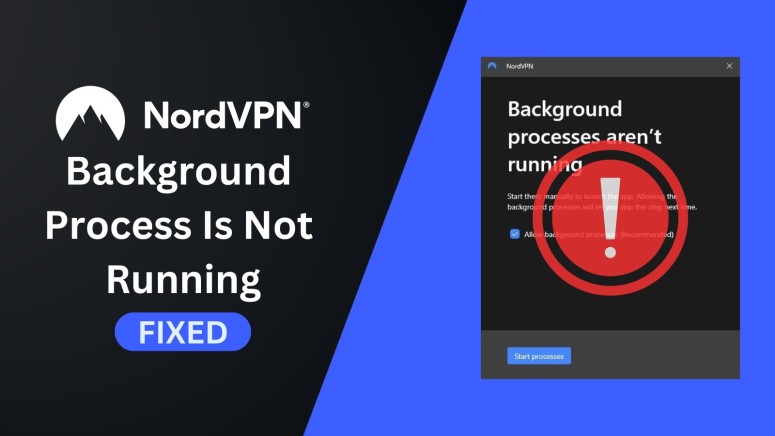
The 'NordVPN background process is not running' error message typically appears when the VPN fails to initialize after booting up your computer. This mostly happens due to a software conflict that prevents the VPN from initializing correctly, even if the autostart option is enabled by the user.
The good news is that you can fix this error message quite easily. In most cases, clicking the 'Start Process' button or reinstalling NordVPN does the trick, but there are other things you can try.
To make this article as helpful as possible, we'll focus on a group of solutions to restart the NordVPN background processes. However, if you’d like to expand your set of options, here's how to fix a VPN that's not working, where you'll find dozens of extra troubleshooting steps.
How to Fix NordVPN Background Processes That Are Not Running
Your first step is to use the 'Start Process' button to initialize NordVPN's processes. If the NordVPN background processes aren't running yet, you can quit the application forcefully, clear its cache, restart the application, and do a few other things. Let's give you more details.
1. Use the 'Start Process' Button
The error message you see typically appears along with a button that lets you initialize NordVPN’s background process manually. With that said, your first action should be to press the 'Start Process' button, located just under the error message.
It might take several tries to initialize NordVPN’s background process, so we recommend pressing the button a couple of times. However, do not do that at once. Instead, wait around 10 seconds between each attempt. If that doesn’t fix the error, proceed to our other troubleshooting tips.
2. Restart NordVPN Using the Task Manager
Next, you can try closing NordVPN manually. However, don't just close it by pressing the "X" button. Instead, quit the VPN app along with its associated processes via the Task Manager in the following way:
- Press the CTRL + ALT + DEL key combination.
- Select 'Task Manager' when presented with a list of options.
- Make sure the 'Processes' tab is active in Task Manager.
- Look for two active processes – 'nordvpn-service.exe' and 'NordVPN.exe.
- Select each of those processes and use the 'End Task' button.
- Finally, open NordVPN again and see whether its home screen will show.
3. Clear NordVPN’s Cache Data
If the method above doesn’t work in your case, you can go one step further to fix NordVPN's background processes error. Let’s show you how to clear NordVPN’s cache data from your Windows PC:
- First, quit NordVPN using the Task Manager (as explained just above).
- Open the 'Run' prompt by using the Windows Key + R shortcut.
- You now see a tiny window on your screen asking for a navigation path.
- Type in %localappdata% and click on 'OK.'
- At this moment, you should see a large list of individual folders.
- Find 'NordVPN' and delete that folder.
- Re-launch NordVPN and check whether the VPN app works properly.
4. Reset NordVPN's Application Preferences
Resetting NordVPN's preferences will return the application to its factory settings. You will also be logged out during the process. So, the next time you launch NordVPN, you'll start from scratch. You need to do the following:
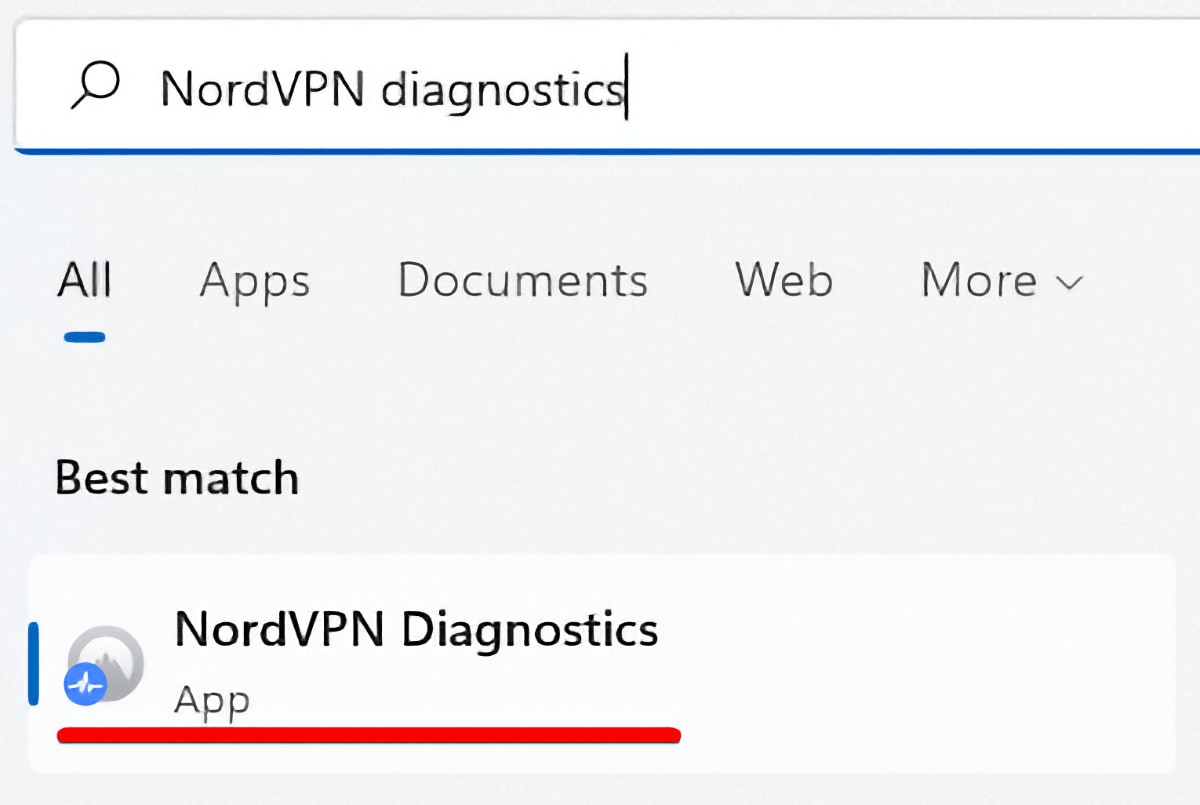
- Click the Start menu icon on your Windows PC.
- Type 'NordVPN Diagnostics' and open the application.
- You'll be asked for permission to make changes, so click 'Yes.'
- Use the 'Reset App' button.
- Open NordVPN and log in using your credentials.
If you use a Mac, you won't find the NordVPN Diagnostics app. However, you can reset the app using the Terminal based on how you downloaded NordVPN in the first place. Here's what you need to do:
- Close NordVPN completely by right-clicking the app's icon in the Dock and choosing 'Quit.'
- Open the Terminal (you can use macOS' Launchpad for that).
- Based on how you installed NordVPN on your Mac, use one of the following commands:
- defaults delete com.nordvpn.osx-apple (if you installed NordVPN from the App Store).
- defaults delete com.nordvpn.macos (if you installed NordVPN from its website).
- Confirm the command and re-open the NordVPN application.
5. Reinstall & Update NordVPN
Reinstalling software can help resolve different kinds of issues, which also applies to VPNs. This common troubleshooting step is used when NordVPN won't connect, open, or run properly. If you haven't updated NordVPN in a while (or even if you did), you should re-install the VPN app in the following way:
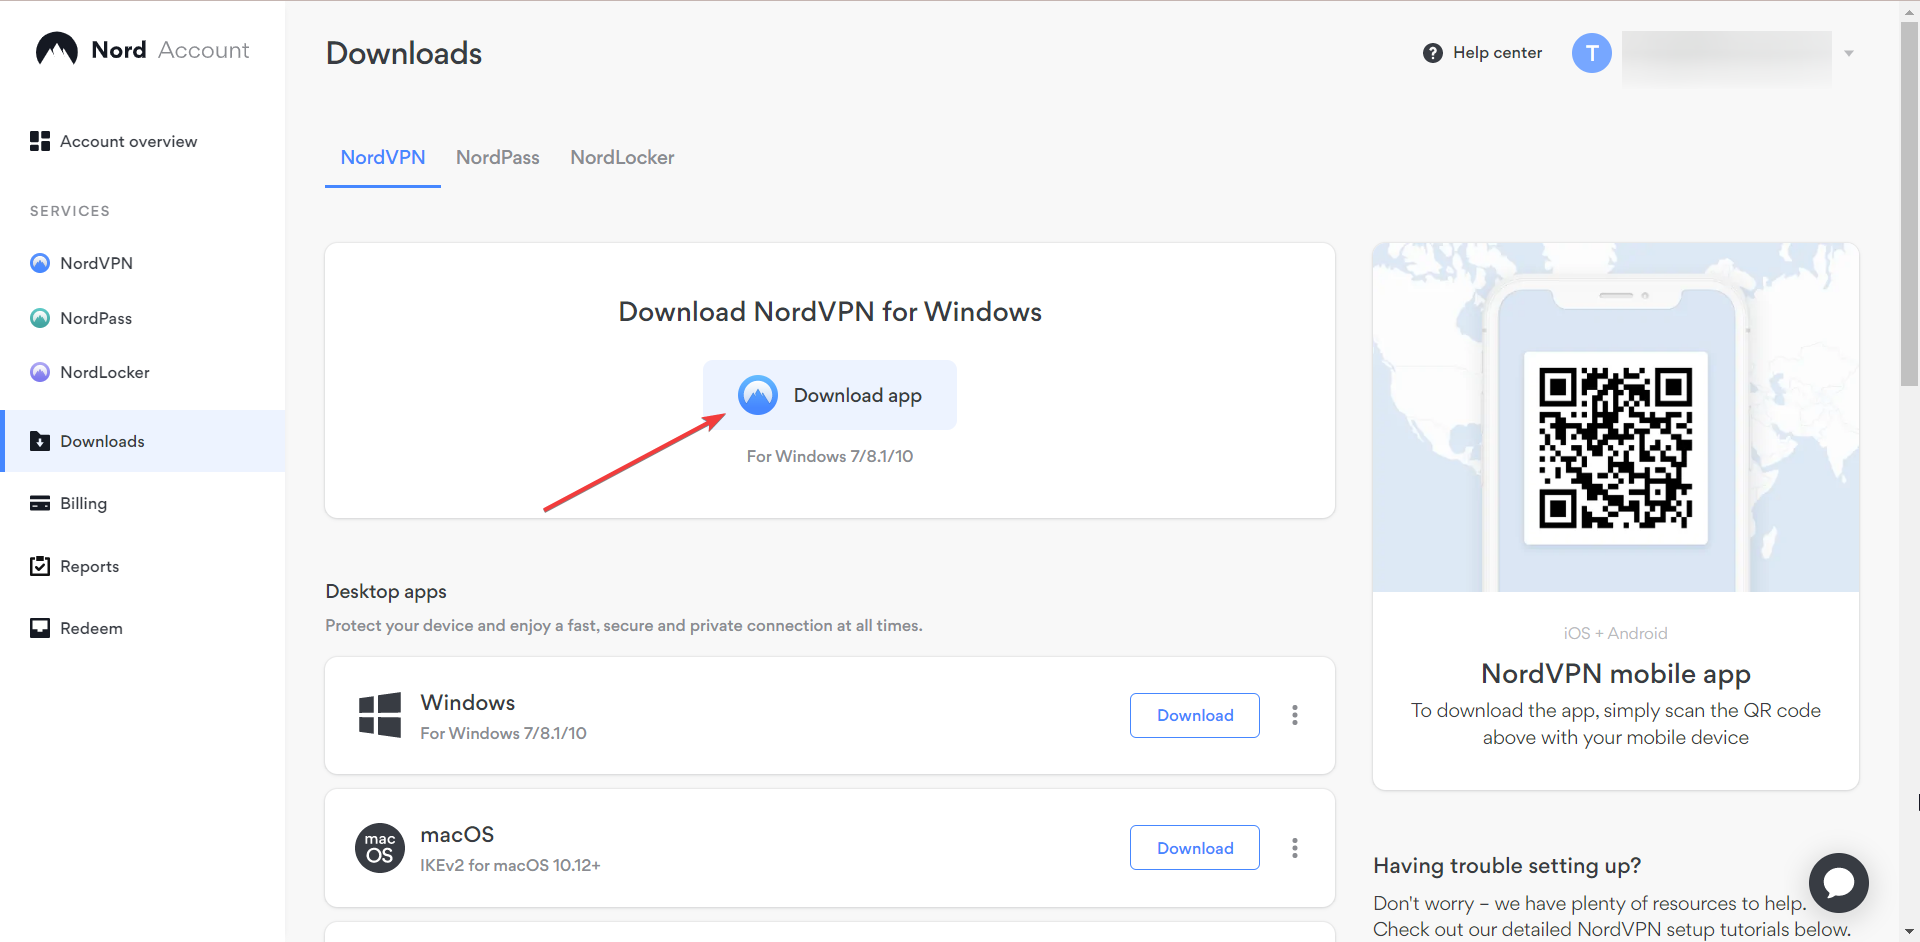
- Navigate to your Nord Account dashboard using any Web browser.
- Provide your credentials and access your Nord Dashboard.
- Using the left-placed sidebar, select 'Downloads.'
- Download the latest version of NordVPN available.
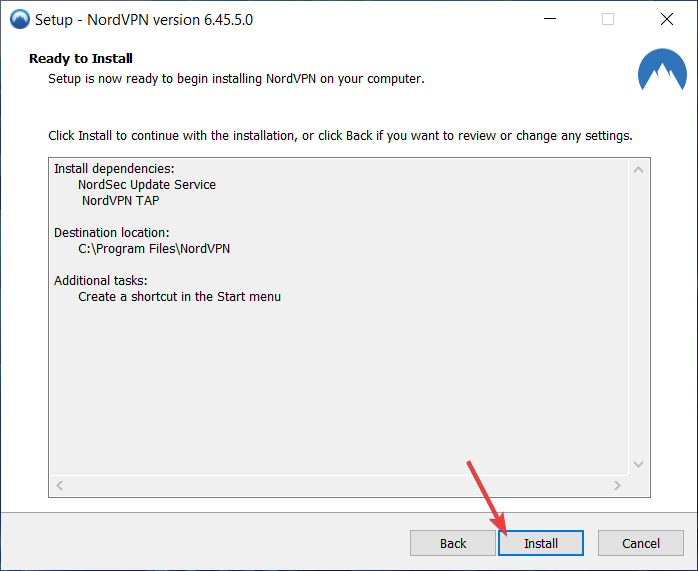
- Reinstall the app by opening the installation file.
As you can see, we haven’t instructed you to remove NordVPN first. That’s because once you run its installation file, you will be asked to repair your installation. So, you might want to try that first. In case repairing NordVPN doesn’t do the trick, you can remove it from your PC and install it from scratch.
6. Allow NordVPN in 'User Access Control' Settings
NordVPN requires administrator rights to run. So, depending on your computer’s UAC settings, the application might be blocked from running, failing to initialize its background process. With that said, here’s how to optimize your UAC settings on your Windows PC:
- Launch the Start Menu and type in 'Control Panel.'
- Navigate to User Accounts > User Accounts.
- Select 'Change User Accounts Control Settings,' which comes as a link.
- Take a look at the slider on the left-hand side.
- Depending on the required level of security, move the slider up or down.
- Know that dragging to slider to 'Never Notify' will disable UAC.
- Select 'OK' once done and confirm your decision if asked.
- Try running NordVPN again.
7. Remove Other VPN Client Apps
As a final option to fix the error message, we recommend removing other VPN clients from your Windows PC. That’s because running multiple VPNs can cause software conflict, preventing them from working. Here’s what to do:
- Select 'Start' (in the bottom-left corner of your screen).
- Pick 'Settings' and navigate to Apps > Installed Apps.
- Select the app(s) you'd like to remove and pick 'Uninstall.'
- If needed, follow the on-screen prompts to finalize the procedure.
8. Make an Exception for NordVPN in Your Antivirus Software
It's not uncommon for antivirus software to block VPN connections and cause technical issues. In that case, we recommend "whitelisting" NordVPN or adding it to a list of exceptions, which means the app won't be scanned for malware. Each antivirus has a different way to whitelist a program, so here's a general guide:
- Open your antivirus application and look for its settings or options menu.
- Navigate to a group of settings related to whitelisting, exceptions, or exclusions.
- You now need to add NordVPN by navigating to its executable file on your computer.
- If there are any additional options to tweak, make sure to do so.
- Save your change and re-open NordVPN.
9. Collect Diagnostics and Contact NordVPN's Support
If nothing else helps, you should contact NordVPN's support. However, before you do that, it's wise to upload diagnostic logs to allow NordVPN's team to identify the issue you're facing more easily. These are the steps you need to take:
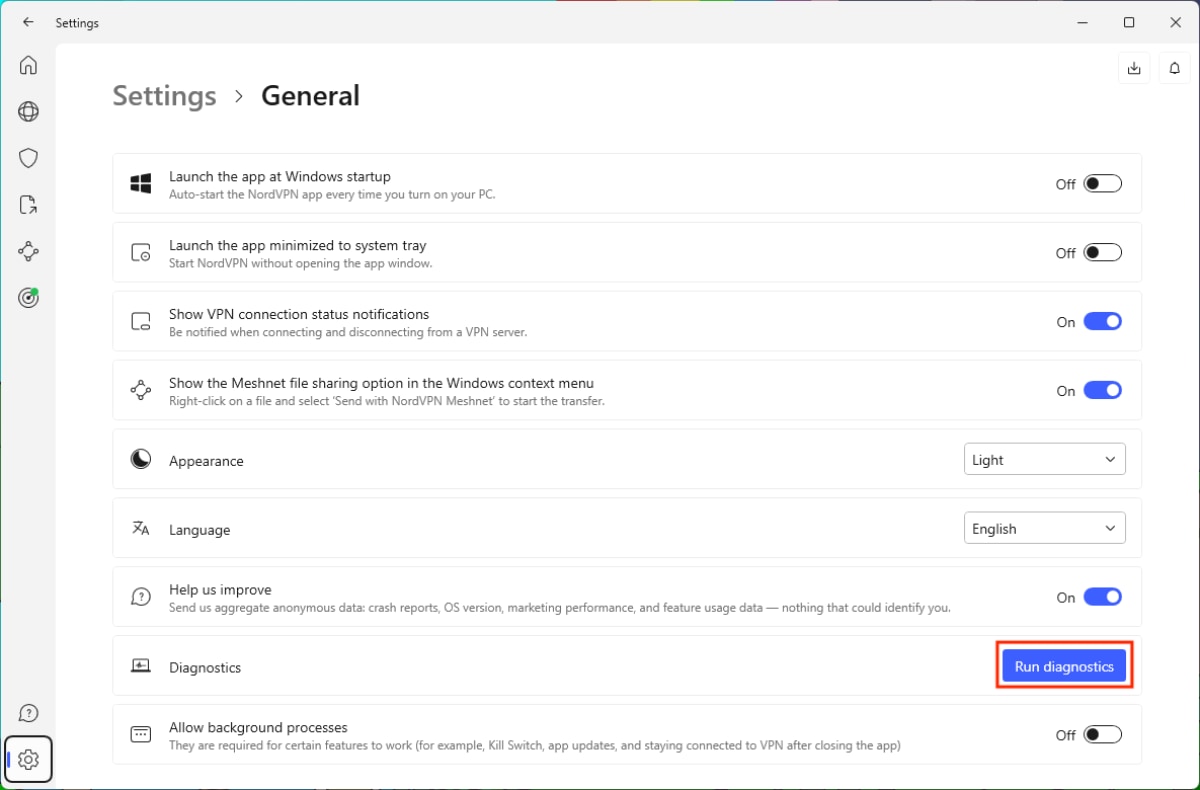
- On your Windows PC, open NordVPN and navigate to its settings.
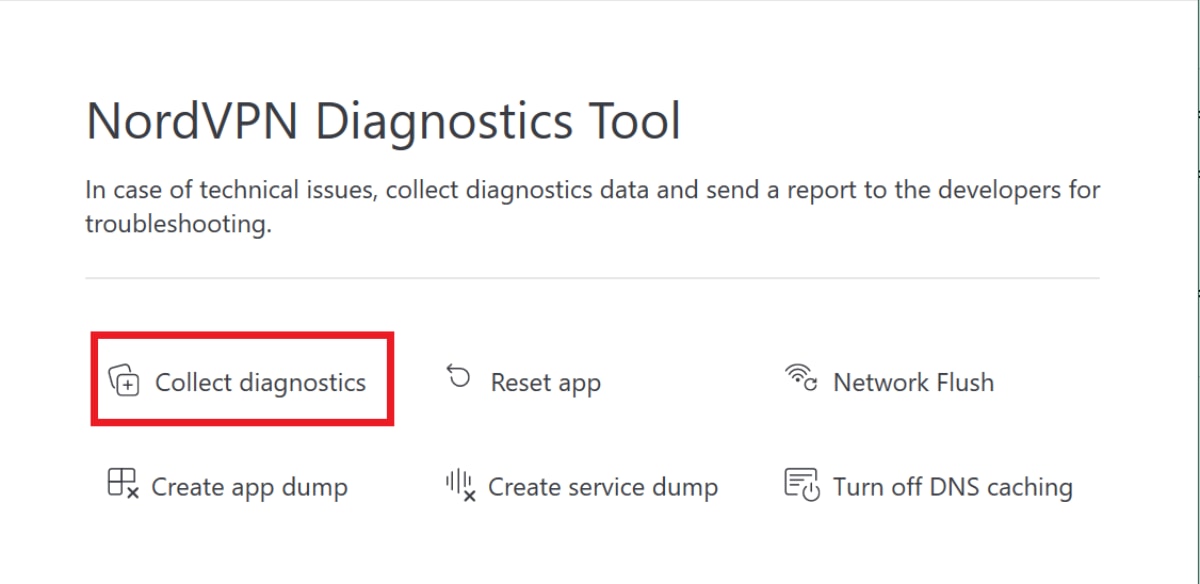
- Next, go to General > Run Diagnostics.
- A new window will open, where you need to pick 'Collect Diagnostics.'
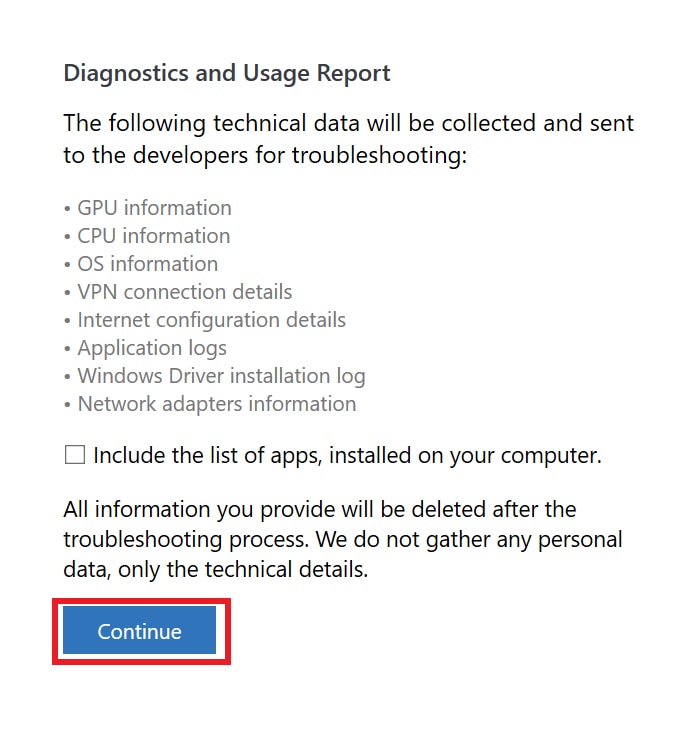
- Select 'Continue' to confirm your decision and wait a couple of moments.
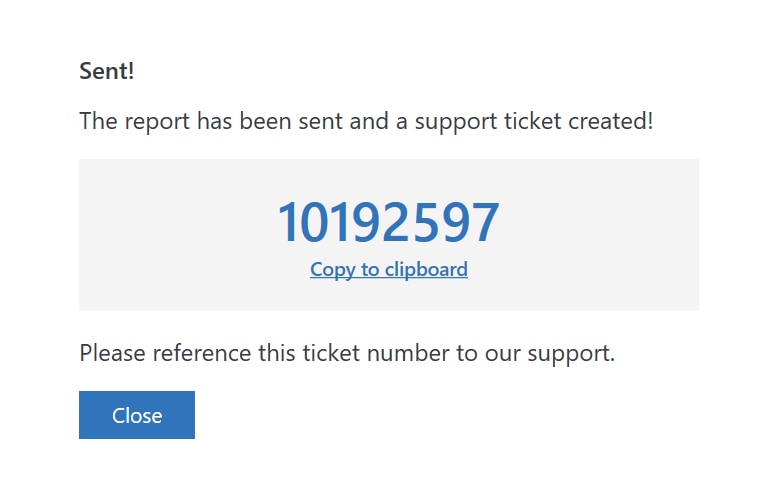
- Once the logs are uploaded, you'll see a reference number - make sure to save it.
- Open NordVPN's website, start a new chat and use the reference number you got.
If you cannot collect diagnostics for whatever reason, you can do so manually. Navigate to C:\Program Files\NordVPN\Diagnostics and manually upload the ZIP files you'll find there once you start a new chat with NordVPN's customer support.
Final Thoughts
Resolving the "NordVPN background process is not running" error message is done easily. The quickest fix is to use the 'Start Process' button a couple of times, which should remove the issue in most cases. However, if that doesn't help, you still have plenty of easy steps to try, such as closing NordVPN using the Task Manager, reinstalling the VPN app, or removing any extra VPN apps.
More technical troubleshooting steps, like removing NordVPN's cache, resetting its preferences, or ensuring the app has sufficient administrative privileges, can seem tedious. However, as explained through our detailed steps above, they're pretty simple to do, and they take just a few minutes of your time. So, they're definitely worth trying as well.
After reading this guide, if you have any questions, post them in the comments section below. Lastly, thank you for reading!

