How to Take a Picture of the Moon With iPhone 13, Mini, Pro, and Pro Max
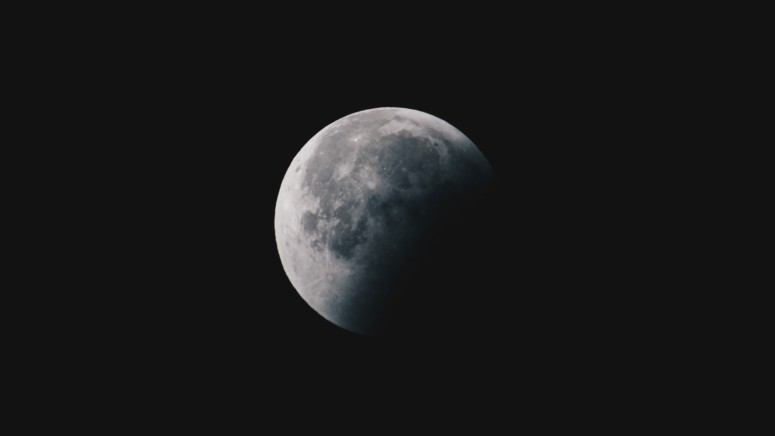
You’re probably reading this article because you’ve seen amazing photos of the Moon all over social media, claiming to be taken using an iPhone. Well, as you’re about to see in this guide on how to take a picture of the Moon with the iPhone 13, the right equipment and a few tricks can go a really long way. So, let’s jump right in, shall we?
How to Take a Picture of the Moon with the iPhone 13
To take a picture of the Moon with the iPhone 13, you need the right equipment, plan your timing and location, and then use a bit advanced shooting method. Here’s all you need to know.
#1: Think of the Equipment You’ll Need
We’ll be honest with you here. To take a picture of the Moon, you can’t use your iPhone only. That’s simply not possible, even if you have incredibly steady hands. Here’s what you’ll need.
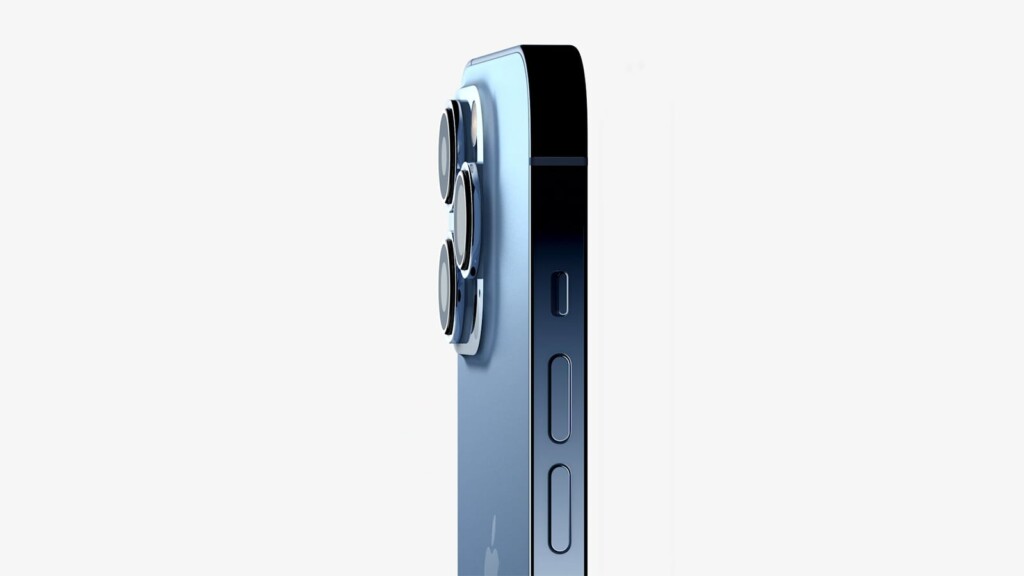
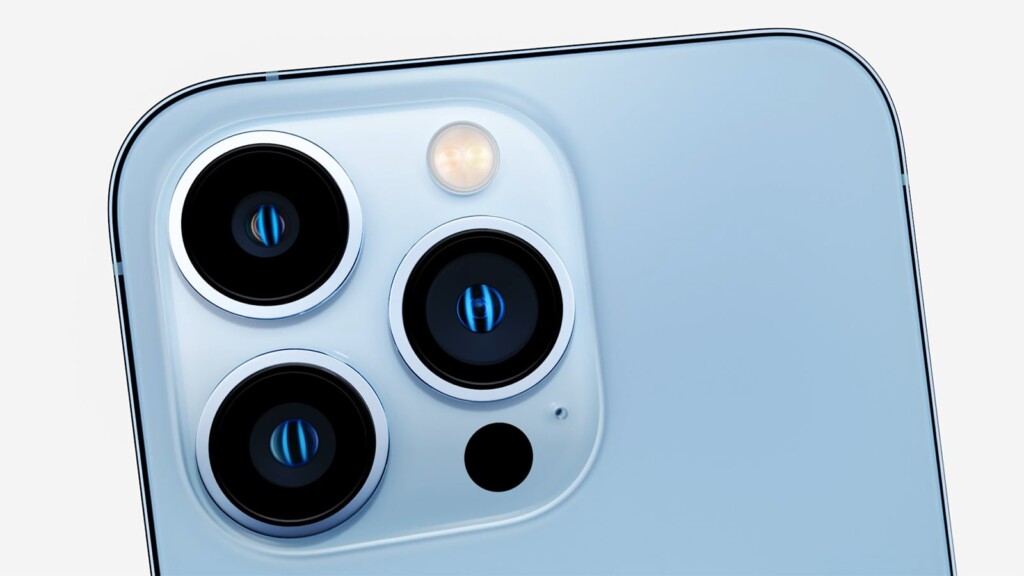
- iPhone 13 (Pro/Pro Max Preferably): Of course, you’ll need your iPhone. This article focuses on the iPhone 13, which comes with the most advanced camera system yet. Also, know that shooting night photos is made much easier with the 13 Pro and 13 Pro Max models. However, even older iPhone generations could still do the job, relatively well.
- Tripod: Using a tripod for your phone is mandatory when shooting night photos. That especially goes for shooting the Moon, as you'll need to zoom in as much as possible, so even the tiniest shake could ruin your picture. That's why using a tripod is mandatory. Depending on your budget, you can go for a really high-quality one, or you can even make a DIY tripod at home.
- Extra Lens: Using an extra lens isn’t mandatory. However, by adding a lens over your iPhone 13's camera system, you could step up your game when shooting the Moon. If you want the best, we recommend Moment's drop-in camera lenses, for which you'll need this lens mount. Then, you’ll get to pick from a wide variety of lenses.
#2: Plan Your Timing and Location
When using a DSLR, you have plenty of freedom to zoom in and out. However, that’s not the case with iPhones, which come with pre-set zoom levels. With that said, you need to be smart about planning your timing and location. Here are some tips.
- Use this handy website to plan when to start shooting based on your geographical location. After all, you’ll need to know more about moonrise in your location, which is the time of night when the Moon rises above the horizon, creating an illusion of its size.
- Since you'll be using your iPhone 13 to shoot the Moon, you'll use its full zoom capacity. In other words, using other elements in your composition would be close to impossible, so we recommend finding a clear and open space without anything to block the horizon line in your photo.
- In general, elevated spots are preferred. That’s because elevated spots give you more time to shoot before the Moon sets behind some large tree or buildings. Of course, you can always return at a later time to continue your photography session.
- And lastly, be aware of light pollution in your area. When shooting stars or planets, it’s always best to do it from a place without too many lights, even though it’s getting harder to find such places.
#3: Take Your Shot!
Finally, you’re now ready to take a picture of the Moon using your iPhone. However, instead of letting your phone do it automatically, you need to adjust some settings manually. Keep on reading to learn more.
- Set up your iPhone on your tripod and add a clip-on lens if you have it.
- Then, navigate to the Camera app on your phone.
- Turn off the flash by tapping on the 'Flash' icon in the top-left corner.
- Use your phone’s viewfinder to set up your composition and zoom in.
- Since the Moon is usually overly bright, you need to adjust the exposure manually.
- Long-press on the area that frames the Moon. A yellow square should appear.
- Drag downwards to reduce the exposure of the Moon and reveal its details.
- Once you lock the exposure, use the 'Shutter' button to take your photo!
In general, your iPhone 13’s Camera app should do a pretty good job. However, if you wish to dive into more complex photography settings, using a dedicated camera app is the way to go. With that said, we recommend checking out Halide Mark II and ProCamera.
That would be all on how to take a picture of the Moon on your iPhone 13. In case you have any questions, use the comments section below. And lastly, thank you for reading!

