When you purchase through links on our site, we may earn an affiliate commission. Here’s how it works.
How to Set Up Your Own VPN Server at Home
Articles talking about VPNs usually refer to commercial VPN services. However, that's not the only route available if you want to secure your Web traffic. You can also learn how to set up your own VPN server at home, which is a useful and more privacy-friendly option best suited for more advanced users.
Before going deeper, we have a few valuable bits of information. First, know that setting up your own VPN server isn’t the most intuitive process. We recommend it to tech enthusiasts who have some prior knowledge in terms of tinkering with hardware and software.
Also, remember that this isn’t a one-time process, as it requires you to keep your VPN server updated and maintained at all times. There are new vulnerabilities discovered every single day, which means maintaining your VPN server requires a continuous effort.
If you’re willing to dive deeper, we’ve prepared a handy guide, found below. You’ll get to learn about what creating your VPN server at home involves, in addition to plenty of tips and tricks. With that said, let's jump right in!
How to Set Up Your Own VPN Server at Home
At the moment, there are 3 ways for you to create your own VPN server at home. Here are the options you have in front of you:
- Method #1: Use a VPN-Compatible Router
- Method #2: Use a Custom DD-WRT Router
- Method #3: Use Other Devices as VPN Servers
- Method #4: Use a Cloud Computing Provider
Method #1: Use a VPN-Compatible Router
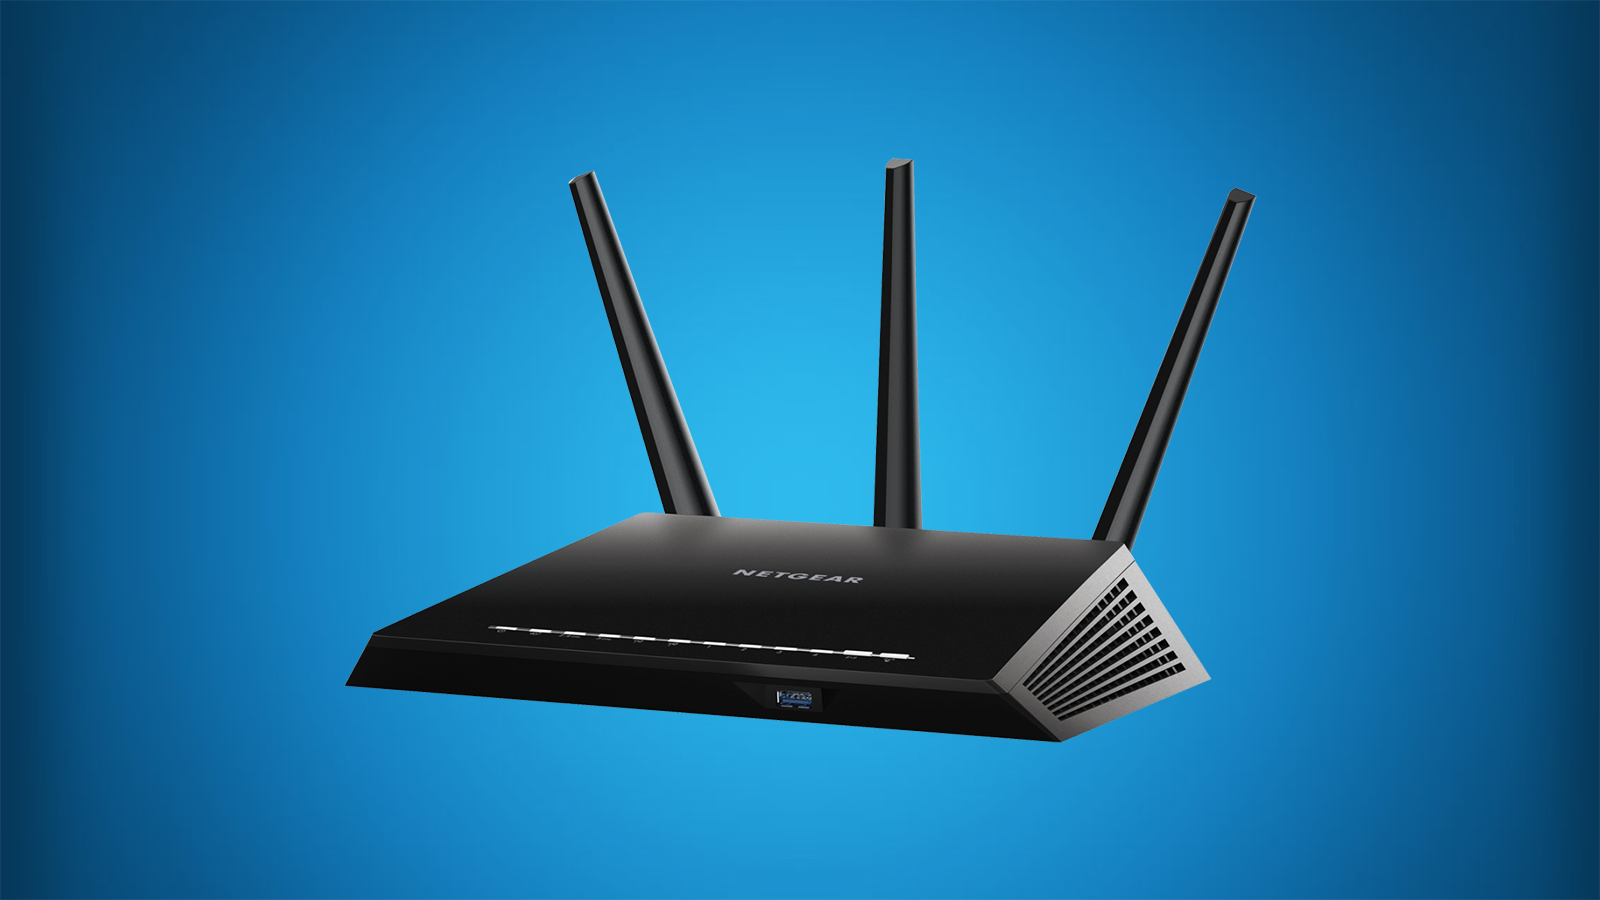
The easiest option to set up a VPN server at home is by getting a VPN-compatible router. There are many different options out there, and you get to pick from various types of brands.
We recommend checking the best NETGEAR routers, Linksys routers, as well as TP-Link routers. We also offer our overview of the best ASUS routers. Also, you can read more about how to choose a VPN router, helping you find a product aligned with your needs.
What’s important to be said is that VPN routers come with their own Web UI (User Interface). You log in to your router using its IP address and your Internet browser, which is when you’ll enter a username and password.
Then, a Web UI will open where you can create your VPN server. You'll also see an option to use a commercial VPN and supply OpenVPN files, which should be uploaded to your router. In that case, your VPN router will act as a client - using third-party VPN servers.
Depending on which type of router you buy, you need to do a Google search on how to use it as a VPN server. For example, here’s how to set up ASUS routers to act as VPN servers. Also, here’s how to use NETGEAR routers as VPN servers.
Method #2: Use a Custom DD-WRT Router
The previously mentioned group of VPN routers come with their individual Web UIs, powered by their stock firmware (for example, ASUS routers are powered by ASUSWRT). However, there's also third-party firmware that you can flash onto your router.
In other words, you replace the stock version of your VPN router with a more capable, third-party solution. For that purpose, we recommend using DD-WRT firmware.
There are many powerful DD-WRT routers, most of which are priced under $100. You can even find a few picks when it comes to DD-WRT routers under $50. If you are looking for an affordable and cheap one, you must check this guide.
You should also know that DD-WRT gives you complete control over your router and your Web connection, as there are numerous parameters that you can adjust. It’s no wonder this is the firmware-of-choice for many tech enthusiasts.
When looking for routers compatible with DD-WRT, we highly recommend checking this router database. That's where you can check the list of supported routers, so you can avoid making the mistake of buying an unsupported one.
Once you’re ready to create a VPN server on your own, you’ll find an incredibly detailed guide on DD-WRT’s website.
Option #3: Use Other Devices as VPN Servers
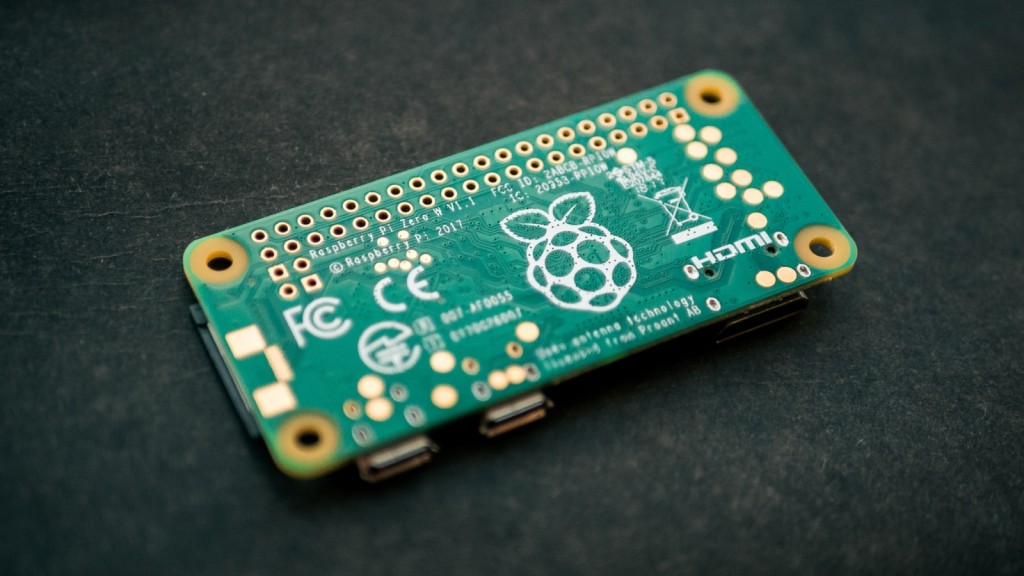
If you have an old computer somewhere collecting dust, why not turn it into a VPN server? Or, even better, you can use an ultra-affordable Rasberry Pi computer as a VPN server.
That’s right - you can use your old computer to process your VPN traffic by essentially turning it into a dedicated server. However, as you can imagine, this doesn’t come without its downsides, which we'll discuss below.
Use an Old Windows PC as a VPN Server
You can turn your computer into a server using OpenVPN, but note that the server (the computer you’re using) will need to be powered on all the time. Then, you need to install OpenVPN on other devices since you’ll need to log in each time you want to access your VPN network.
That said, we must warn you that turning your computer into a VPN server isn’t the easiest process. You don’t have to be an IT expert - but be prepared for a lengthy process.
Finally, to get more information about this method, we recommend you read OpenVPN’s helpful tutorials on how to do this on Windows PCs.
Use a Raspberry Pi Computer as a VPN Server
Most Raspberry Pi boards are powerful enough to encrypt and process your Internet traffic. So, Raspberry Pi computers can act as VPN servers. Furthermore, you can decide between using OpenVPN and WireGuard, which are highly powerful VPN protocols.
As you can imagine, transforming your Raspberry Pi computer into a VPN server is a somewhat complex process that requires a bit of effort. For example, to get started, you need to know how to prepare your server's IP address and handle port forwarding.
There are numerous guides explaining different ways to establish OpenVPN and WireGuard connections on Raspberry Pi. However, we recommend PiMyLifeUp's guide, as it's the most detailed one you'll find on the Web.
Method #4: Use a Cloud Computing Provider
If you're after cutting-edge technologies, you'll want to know about VPS (Virtual Private Server) companies that let you rent their servers. That way, you can use a virtual server hosted in a remote data center to process and handle your Web traffic.
In other words, you can rent a server instead of using your home router or some other device to encrypt your Web data. Many reputable companies offer that option these days, such as Amazon Web Services (AWS), Google Cloud, DigitalOcean, and Scaleway.
As you can guess, virtual private servers aren't free-of-charge (many VPS companies offer lengthy trial periods, though). In fact, they can cost as much as a commercial VPN service. On top of that, you'll need to trust your chosen hosting company not to take advantage of your privacy (data logging may and probably will happen at some point).
Therefore, we can't say that cloud computing providers are a better alternative to commercial VPN services. However, they provide an alternative that allows you to be in charge of your Web data without having to think about maintaining your own server at home.
Lastly, there's one more thing to keep in mind. Always follow the installation guide(s) from the respective cloud owner when setting up a VPN. To give you some examples of what needs to be done, here's how to set up an OpenVPN server using Amazon's cloud and how to do the same using DigitalOcean's VPS.
What Are the Benefits of Setting Up Your Own VPN Server at Home?
Setting up your own VPN server allows you to take full control over your data and connect to your device from anywhere. Here's more information:
- You Take Full Control Over Your Data: There are many reliable VPNs out there. However, even though some of those are 'no-logs’ VPN services, all of them must collect at least some data. The only way to truly be anonymous online and to make sure that no one sees your online whereabouts is by running a private VPN server.
- You Can Access Your Devices From Elsewhere: Two types of users can greatly benefit from private VPN servers, and those are small business owners and frequent travelers. You can allow your employees to log in to your private VPN network. Travelers can log in to their private VPNs to continue using websites that might not be accessible everywhere.
- You’ll Gain New Technical Skills: There are different ways to set up a VPN server at home. You can use a capable router, your computer, or even a Raspberry Pi device. And there are also numerous cloud hosting providers, allowing you to fine-tune your user experience and your expenses.
What are the Disadvantages of Setting Up Your Own VPN Server at Home?
Private VPN servers aren't useful in every possible case. Some types of users could benefit more from getting a commercial VPN subscription instead. So, let’s check out some of the limitations of running a private VPN server:
- You Won’t Get to Unblock Websites Available Elsewhere: As explained earlier, travelers can use private VPN servers to unblock websites available in their home country. However, you won’t be able to unblock websites available elsewhere. For example, to unblock BBC iPlayer, Sky Go, or NOW TV, you need to connect to a server in the UK. To make that happen, you have no other option than to use a commercial VPN.
- You’ll Face Various Technical Roadblocks: Commercial VPN services offer apps for multiple platforms, including Windows, macOS, Linux, iOS, and Android (among others). If you decide to set up a VPN server at your home, you’ll need to configure each device manually. This takes plenty of time, and it’s not the most elegant solution.
- You Won’t Get the Benefits of Shared IP Addresses: One of the benefits of using commercial VPNs is that they offer shared IPs. In other words, commercial VPNs come with a sizeable pool of IPs that regularly rotate. Even though you can change the IP address of your VPN server, that can be a tedious process in the long run.
VPN Server vs. VPN Client: What's the Difference?
You can think of VPN servers as centralized units that process your VPN traffic. That said, VPN clients are locally installed applications that create tunnels to VPN servers.
As you already know, this guide talks about setting up your own VPN server at home. That means you'll have a single server (which can be your router, an old computer, or a Raspberry Pi device, for example) to process (encrypt and transmit) your VPN traffic. However, don't forget that VPN data is sent and received through VPN tunnels.
To establish a VPN tunnel, you need a VPN client. Those can be configured manually, but they can also be applications installed on your computer, phone, or tablet. You launch a VPN client and then connect to your home-based VPN server.
Now that you know the difference between VPN servers and clients, you can also understand the difference between setting up your own VPN server and using a commercial VPN service.
Setting up your own server means having access to a single server only. Using a commercial VPN service means having access to thousands of VPN servers. More importantly, those servers can be spread across the world, giving your IP addresses associated with other countries. As a result, commercial VPN services can also help you unblock sites unavailable in your country.
Final Thoughts
Setting up your own VPN server at home has many benefits. However, that process can be quite laborious and frustrating at times. Still, this doesn’t mean you should give up on the idea of using a VPN. And as you can imagine, there’s a reason why you’ll find hundreds of commercial VPNs out there.
Our team here at TechNadu has tested dozens of VPNs so far, and we can help you find those that are user- and privacy-friendly. First, we recommend checking our VPN buyer’s guide so that you can set your priorities. Then, make sure to explore the best VPN services available right now.
If you’d like to keep your expenses under control, here’s our article on the best VPN deals right now as well. Lastly, there are a lot of capable and cheap VPN services as well.
That would be all there's to know about creating your VPN server at home. We hope that we’ve managed to answer your most burning questions. If that’s not the case, don’t hesitate to post a comment below, and we’ll do our best to respond as soon as possible.

