How To Encrypt USB Drives
I remember buying my first ever USB drive like it was yesterday. I was still in high school and enrolled in a computer programming class. We had all been using 3.5" diskettes to store our code, but these disks were fragile and unreliable. So I scraped together some pocket money and bought a USB drive with a whopping 64 MB of storage. It changed my life and I wondered how I'd actually fill it up!
Today I have a drawer full of drives ranging from a few gigabytes to 64GB. You can buy a 1TB or 2 TB drive if you like!
The truth is that thanks to cloud storage, we don't really use these drives that much anymore. But there are still plenty of reasons not to send files over the internet.
Use Windows BitLocker
If you have the Pro or Enterprise version of Windows, then you also have access to Microsoft's own encryption software known as BitLocker. You can use it for full disk encryption, which is really what it's meant for. In this case, however, we want to use it to encrypt a flash drive.
Using it with a flash drive is actually pretty easy though. Thanks to a feature known as BitLocker to Go. With this application, you can encrypt most external storage devices. Including USB drives, SD cards and basically anything using a compatible drive format. BitLocker to Go supports NTFS, FAT 16 and 32 as well as exFAT.
In Windows 10 you can access BitLocker easily as long as you have the right version. Here's what to do:
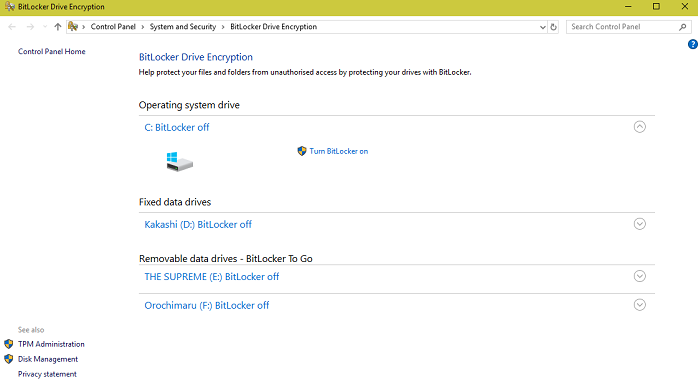
- First click on the start menu, then search "Manage BitLocker" You should see this window.
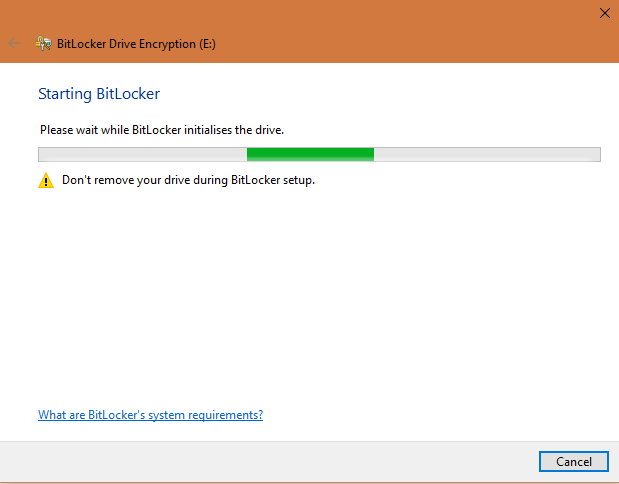
- Click the drop-down arrow next to the drive you want to encrypt and click on "turn BitLocker on". You'll see this window:
- Then you just choose an authentication method.
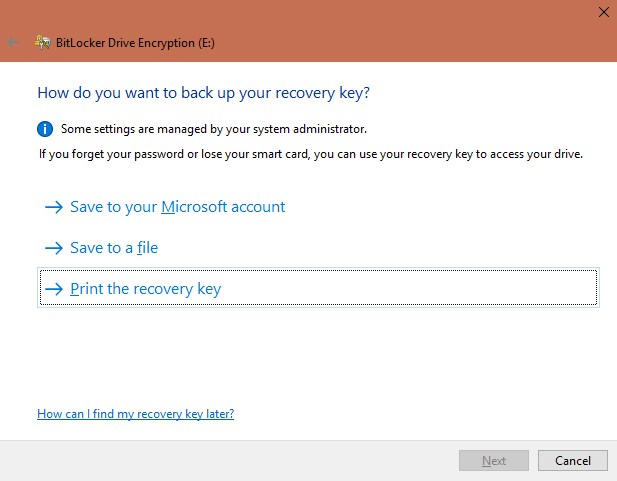
- Now choose how you'll save your recovery key.
I suggest you encrypt the entire drive, just to be safe. You should also choose "compatible mode" since this is for a removable drive. With the final choice made you can go ahead and encrypt this drive.
In future, if you want to use the drive you'll first need to enter your password.
Use Veracrypt
If your version of Windows does not have BitLocker, then your next best bet is Veracrypt. A free application that also allows you to encrypt portable drives. It's not as polished-looking as BitLocker but will get the job done.
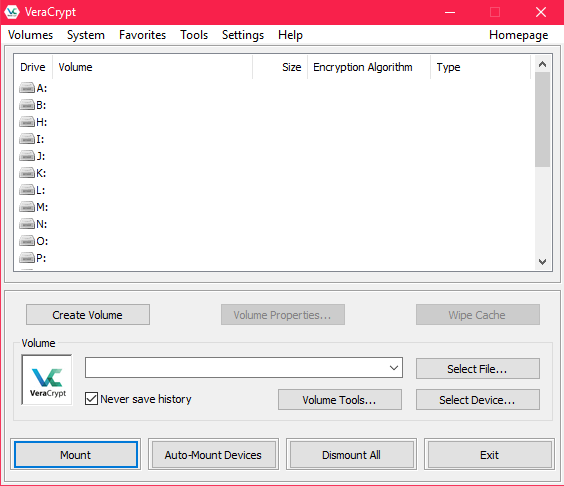
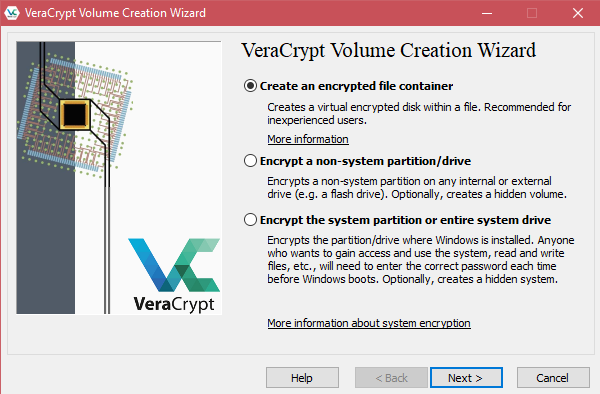
- After downloading VeraCrypt install it. Run the program and you'll be greeted by the main window. Simply click "create volume".
- This will kick start the VeraCrypt volume creation wizard. Since we're encrypting a USB drive, choose "encrypt a non-system partition/drive".
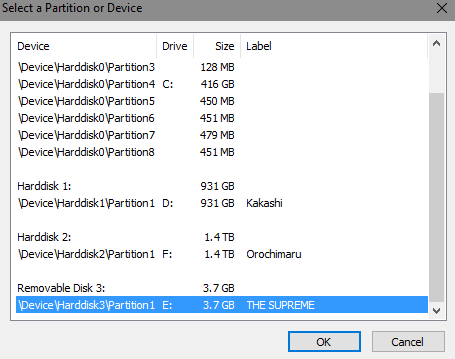
- Choose the device you want to encrypt from this list.
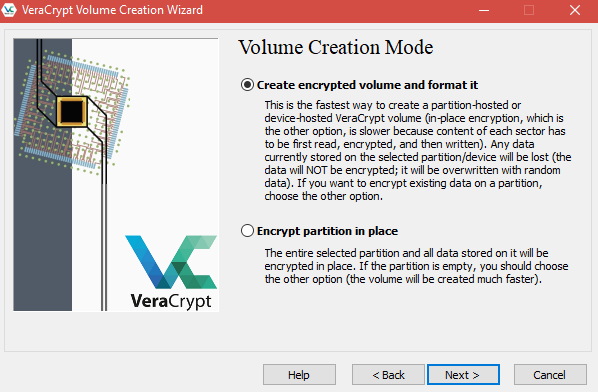
- The volume creation mode menu will come up next. It's your choice, but I suggest encrypting and formatting the whole drive. If there's something on there you need to keep, back it up first.
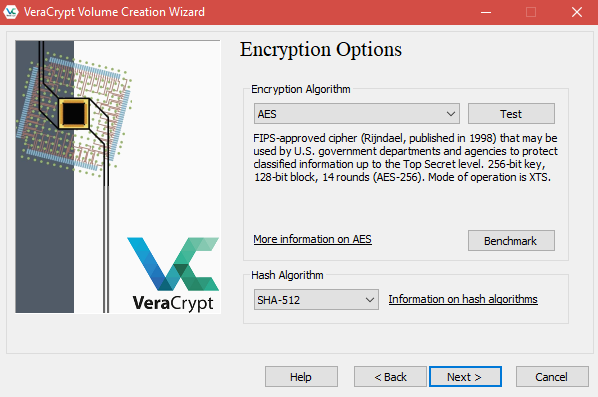
- Now choose which type of encryption to use. For most people, it's fine just going with the default option.
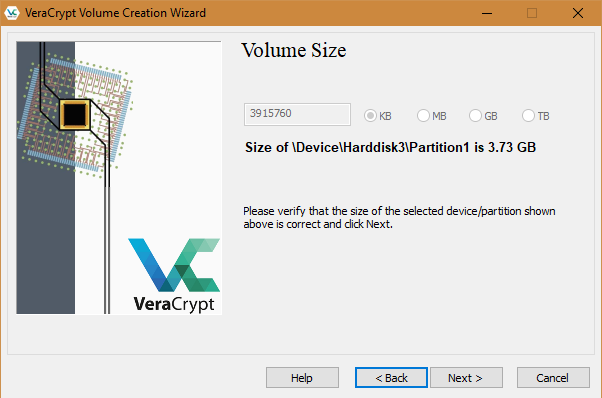
- You Need to pick the size of the volume. If you want the whole drive to be encrypted, just leave this window unchanged.
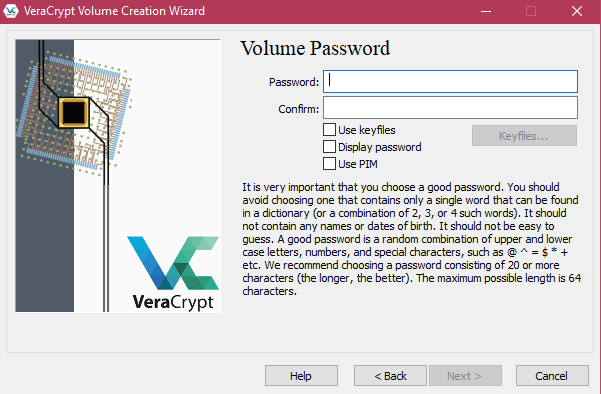
- Choose a strong password.
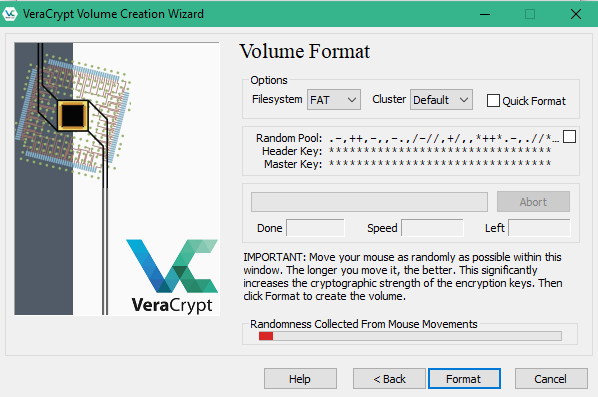
- The format window will now open. VeraCrypt needs a source of true randomness, so jiggle your mouse around until the bar is green.
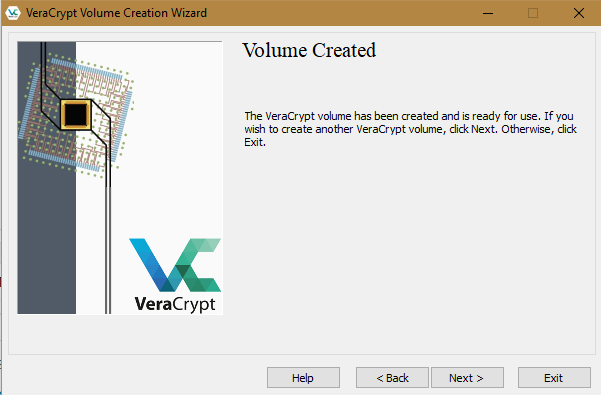
- Once this is complete, you'll get a warning never to use the original drive letter, but only the new volume letter. If you want to get rid of the encryption, simple format the drive on the original drive letter. Everything is now done!
To use your new volume, choose a drive letter on the main VeraCrypt window and click on "Automount". This will find the encrypted volume and prompt you for the password. Then you can access the encrypted volume using the normal file explorer.
Use Finder on Your Mac
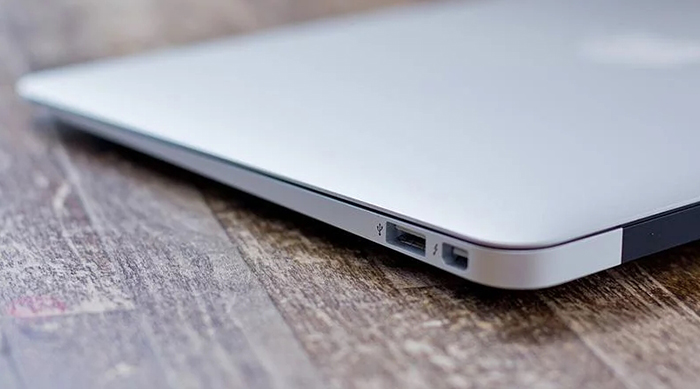
Image Courtesy of MacWorld
If you're a Mac user, then you'll be happy to know that the Finder application already has the ability to encrypt removable drives.
It's very simple to do:
- Open a window in Finder
- Control-click the item you want to encrypt
- Choose the encrypt option on the menu that pops up.
- Just let it happen
Couldn't be easier, right?
Get Hardware-encrypted USB Drives
All of these encryption methods make use of software solutions. There is, however, a more concrete solution: hardware encryption. Buying a flash drive with encryption built in at the hardware level means that even low-level access to the operating system can't get around it in any way. These drives are expensive but are perfect for government and corporate customers. You'll know if your information is worth the outlay for one of these babies.
Encryption on the Go
USB drives might not be as popular as they used to be, but if you use them then their security is an important point to consider. These methods are pretty easy to implement and definitely worth the security you'll get. So go ahead and use your USB drives with confidence.

