How to Get Subtitles on Kodi
One of the best things about Kodi is the application's integration with third-party services. That is how you can get a powerful source of subtitles for your Kodi, for pretty much any movie or TV show out there. However, how exactly do you get subtitles on Kodi?
Well, as implied above, Kodi doesn't offer this functionality built-in. That means you need to rely on a subtitle repository, which is going to be OpenSubtitles in this case. And since this repository offers a Kodi addon, the process of setting it up is quite simple.
So, here's how to get subtitles on Kodi by using OpenSubtitles.
Step #1: Set Up Your OpenSubtitles(.org) Account
Here's how to get your OpenSubtitles account, which is done via this platform's official website. Make sure to go through the following steps.
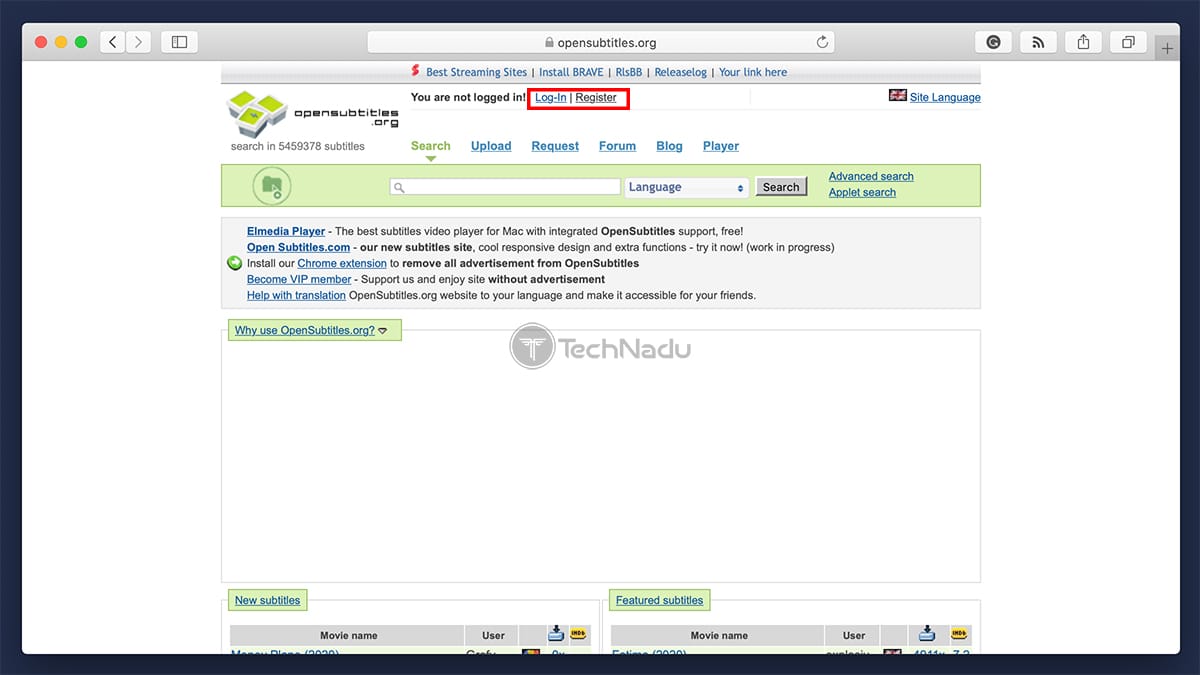
1. Using any Web browser, visit https://www.opensubtitles.org/.
2. Take a look at the top of that page and click on 'Register.'
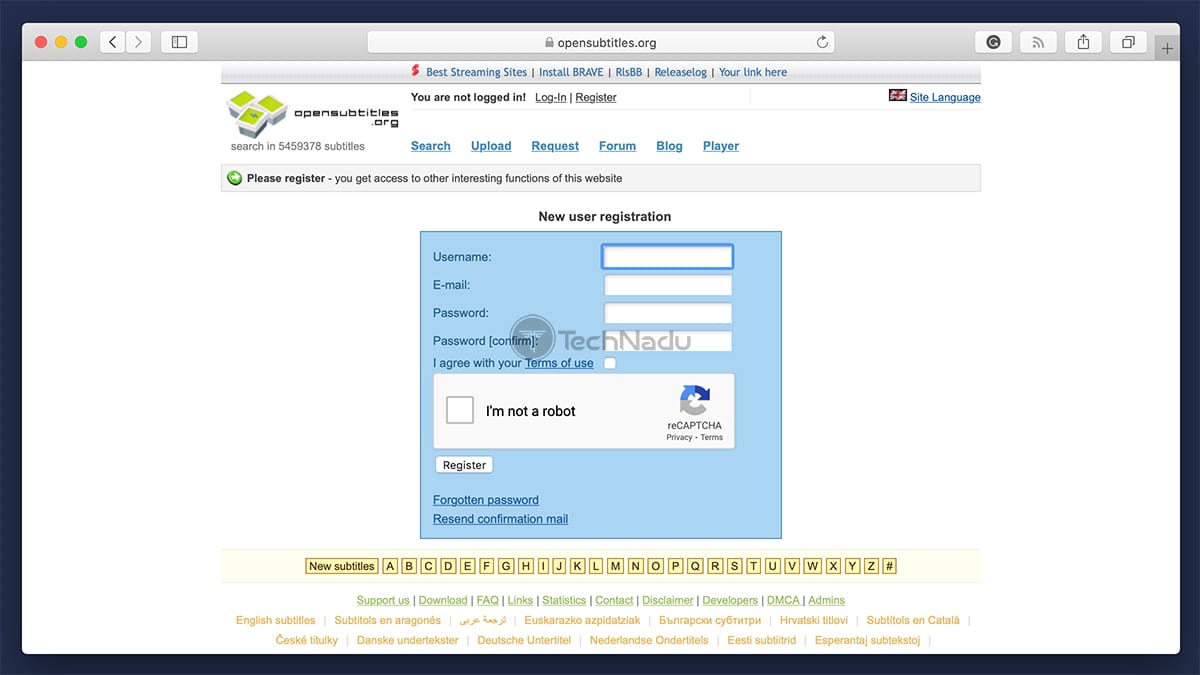
3. Now, fill out the required fields. Remember your username and password.
4. Once done, expect to receive an email to activate your new account.
5. To check if everything's valid, log in to your account on OpenSubtitles.org.
Step #2: Install the OpenSubtitles Addon on Kodi
To get subtitles on Kodi, you need to integrate OpenSubtitles with this application. Therefore, here's how to install the OpenSubtitles Kodi addon.
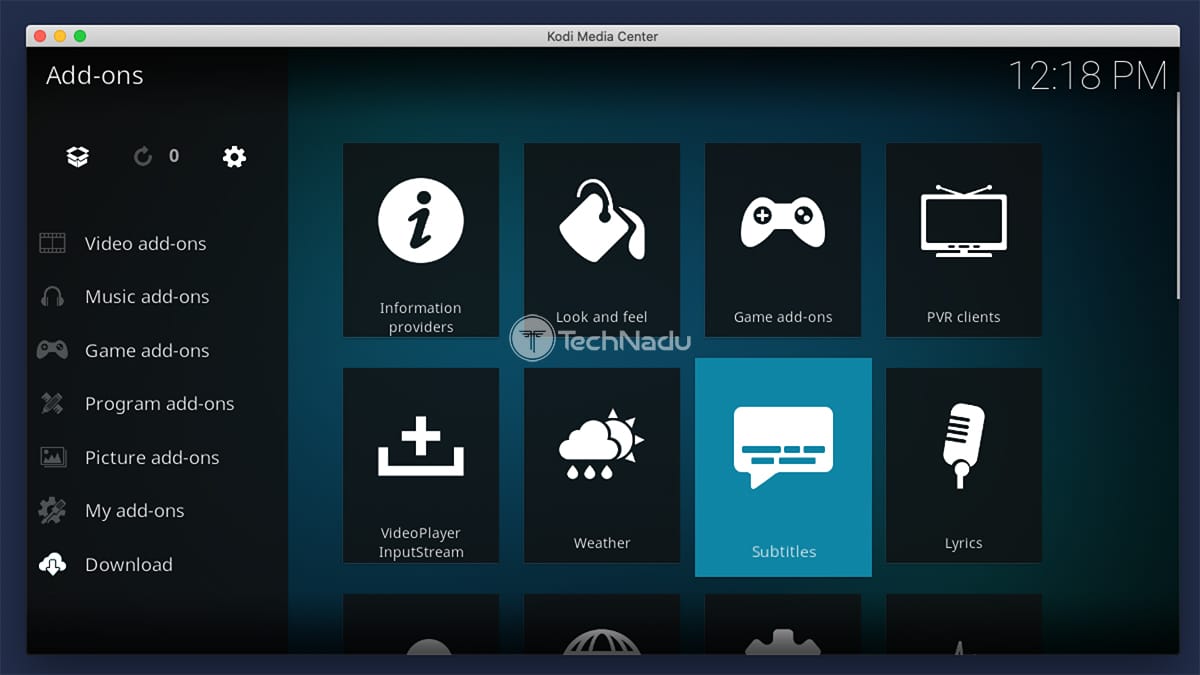
1. Launch Kodi and click on 'Add-ons' using the main menu.
2. Then, click on 'Download' (using the main menu) and select 'Subtitles.'
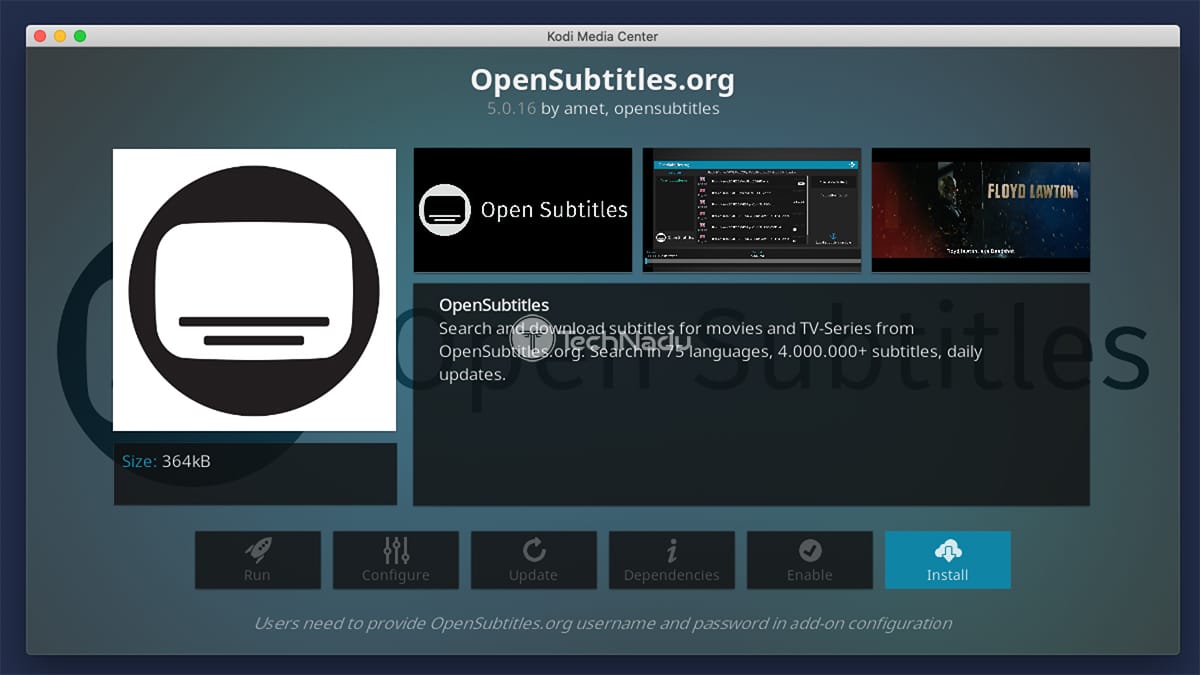
3. Find 'OpenSubtitles.org' and click on this addon's name to bring up its overview.
4. Use the 'Install' button and wait a couple of moments until the add-on is ready to use.
5. Click on the addon's name again to see the addon's overview – and click on 'Configure.'
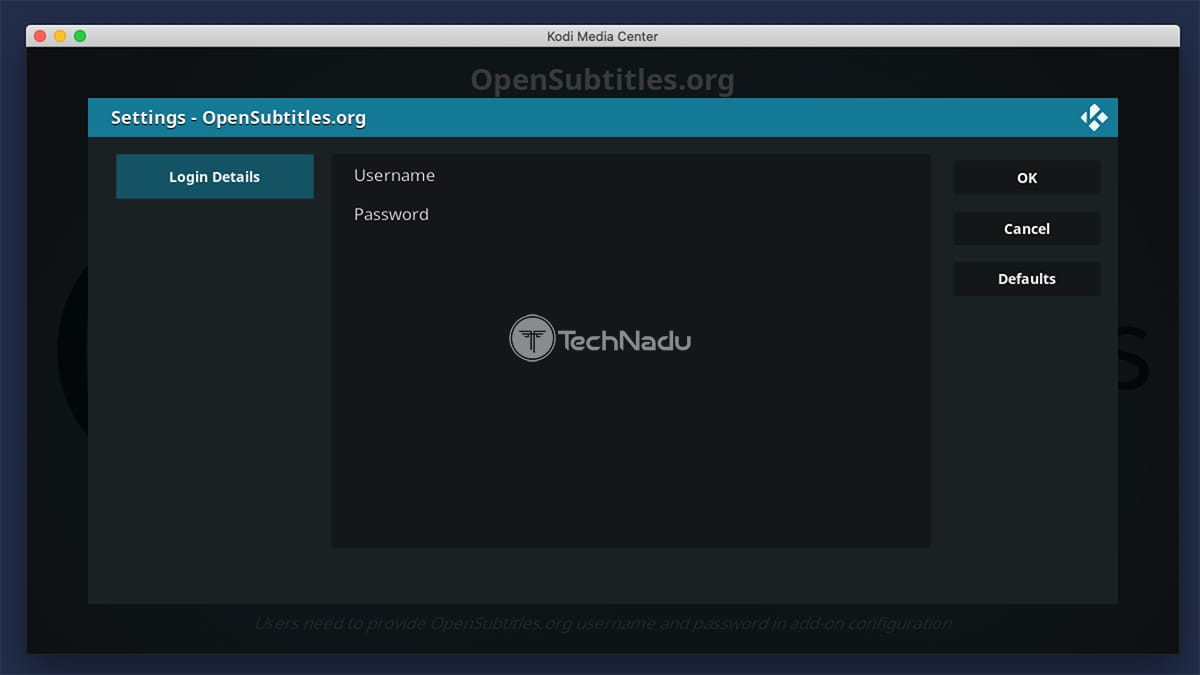
6. Input your OpenSubtitles username and password and select 'OK.'
Step #3: Configure Subtitles-Related Kodi Settings
Lastly, we'll need to visit Kodi's settings to adjust a couple of things. This is the final step in integrating the application with the OpenSubtitles service.
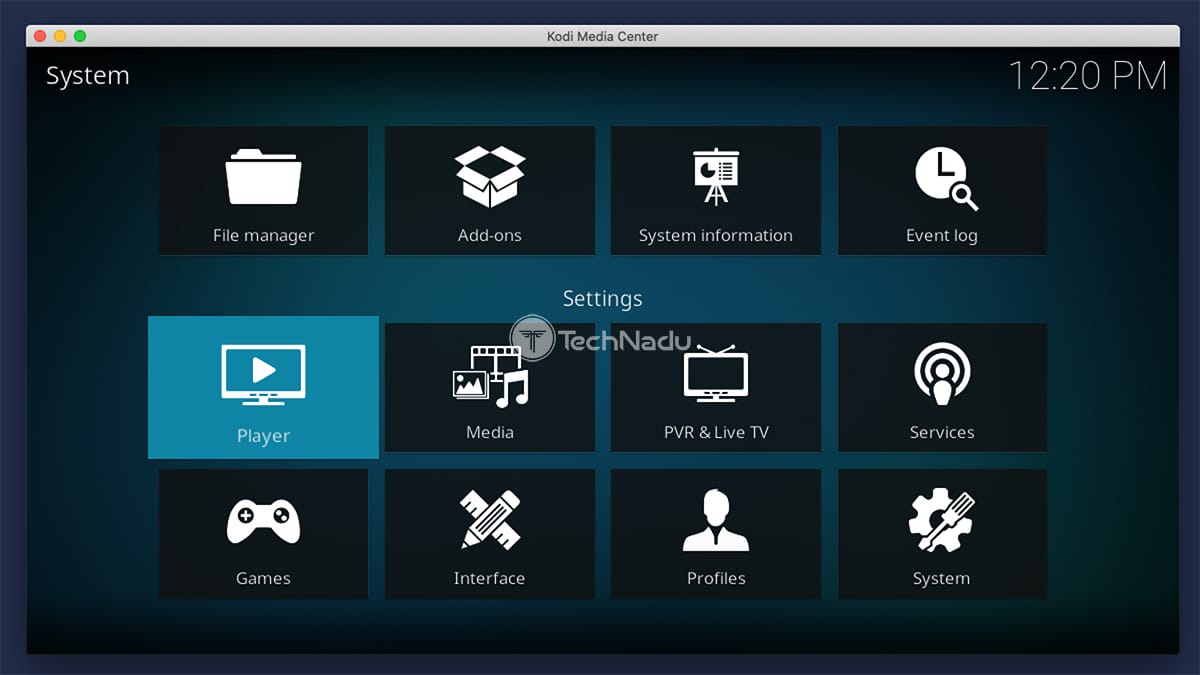
1. Return to Kodi's home screen and visit its settings (use the cogwheel icon).
2. You'll now see a grid of icons. You need to select the 'Player' icon.
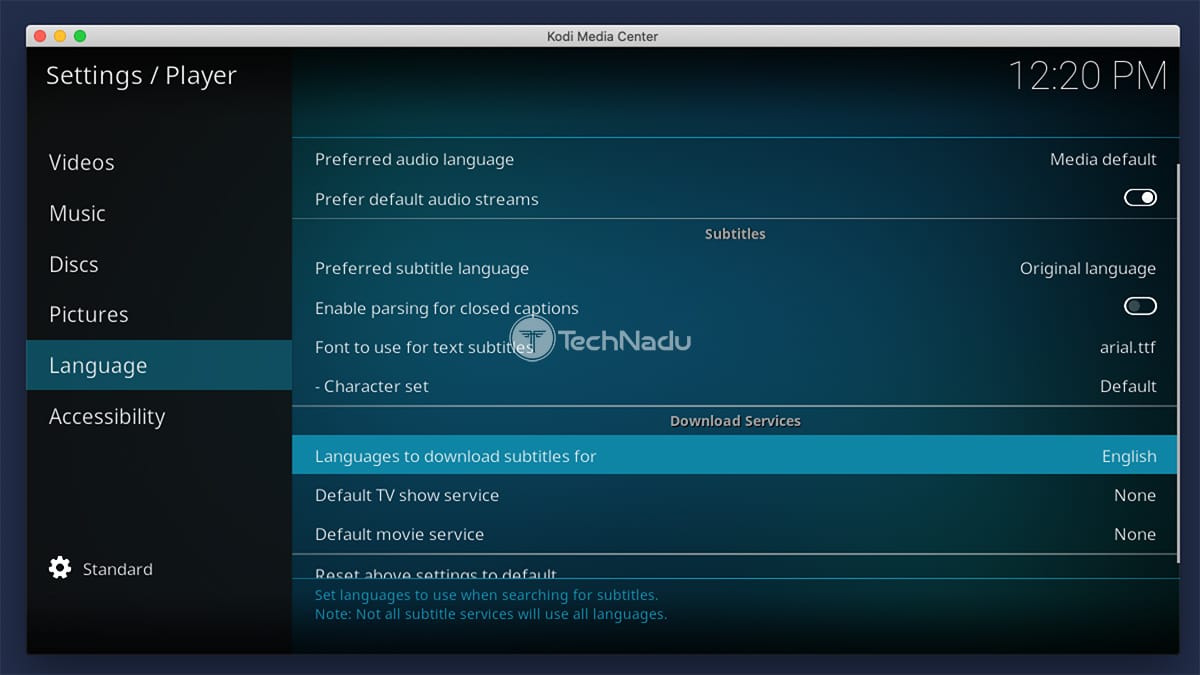
3. Take a look at the left-bottom corner. It should say 'Standard' there. If it doesn't, click on the cogwheel icon until it says 'Standard.'
4. Then, select 'Language' from the left-placed menu.
5. Take a look at the right and find the 'Download Services' segment. Click on 'Language to Download Subtitles For' and select your preferred language there.
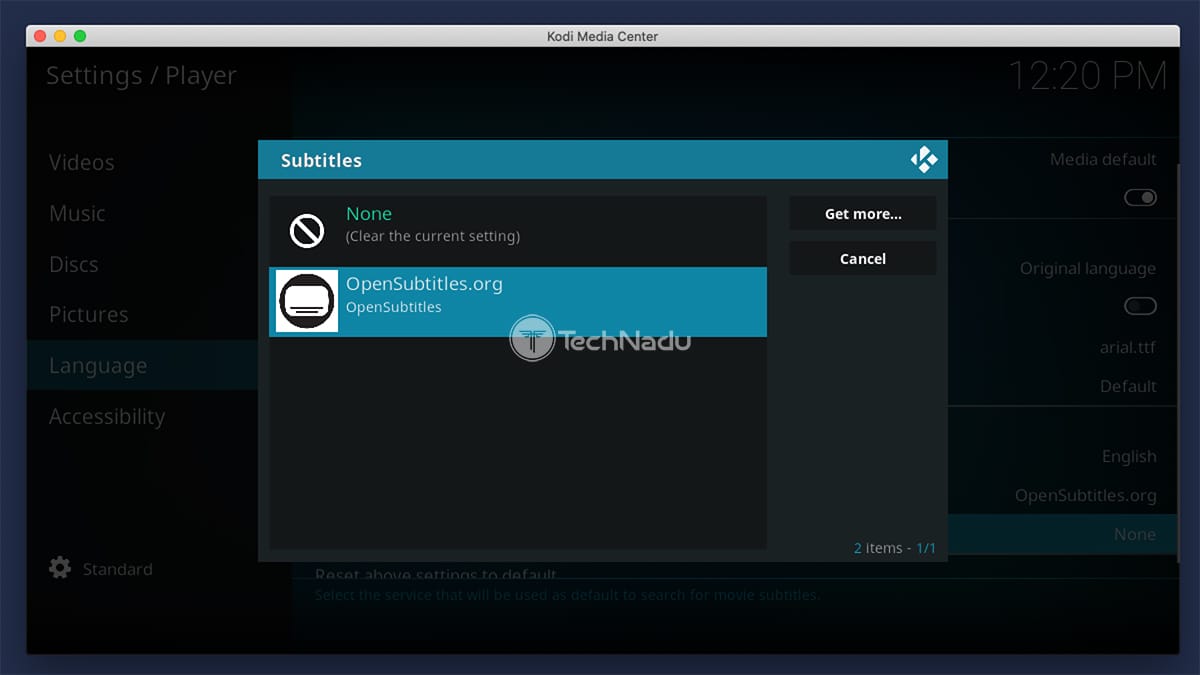
6. Then, click on 'Default TV Show Service' and select 'OpenSubtitles.org.'
7. Click on 'Default Movie Service' as well, and once again select 'OpenSubtitles.org.'
Step #4: Activate Subtitles on Kodi!
Lastly, we need to teach you how to activate subtitles while watching a movie or TV show. You'll use this final step each time you want to add subtitles to a file that you're playing.
1. Go ahead and start playing any movie or TV show – using any Kodi addon.
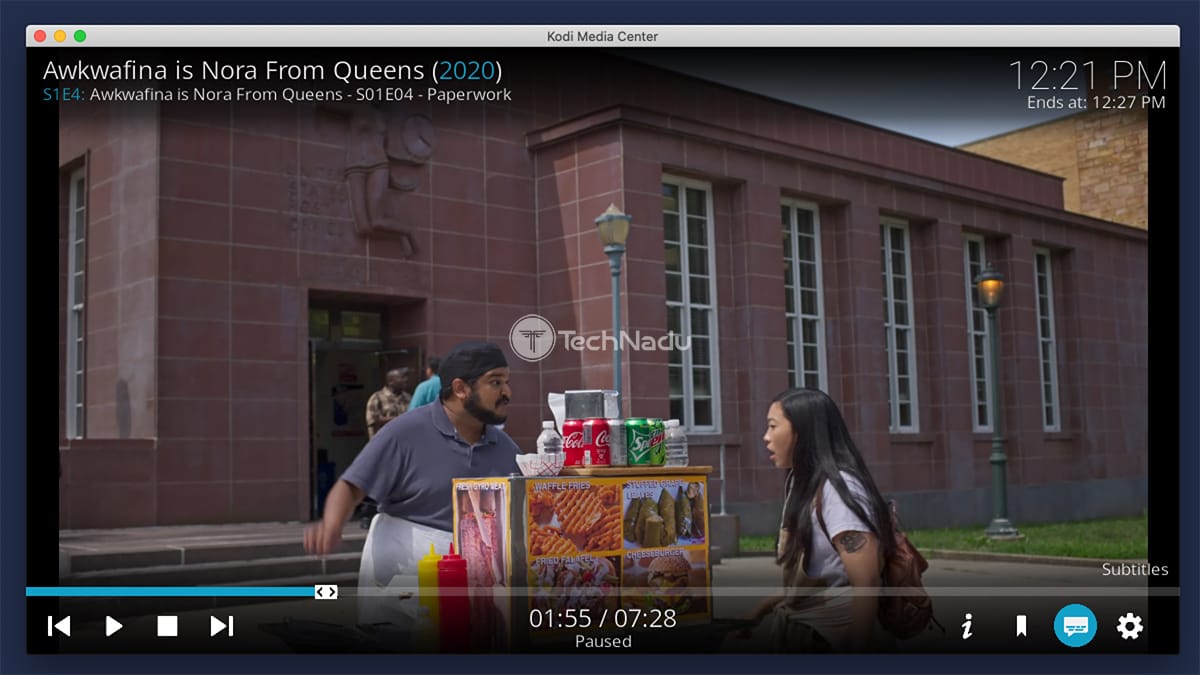
2. Once the video starts playing, click on the subtitle icon in the bottom-right corner.
3. Using the newly opened pop-up, click on 'Download Subtitle.'
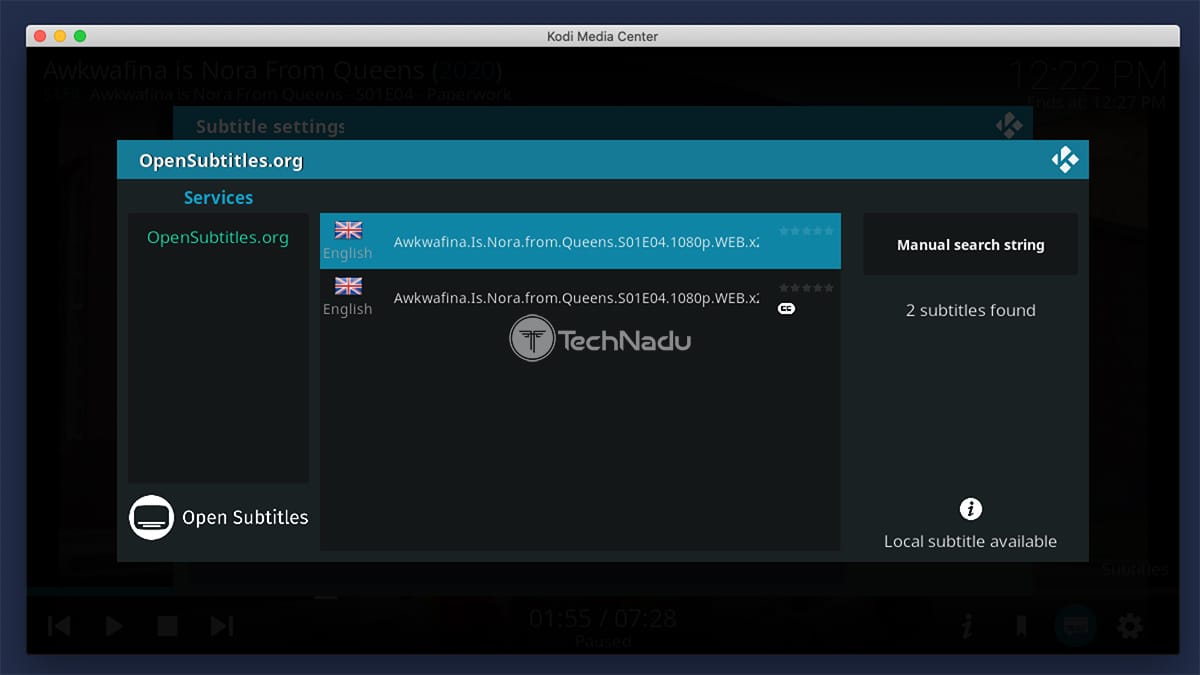
4. OpenSubtitles will now present a list of results – based on the name of the video file you're streaming. On the left side, you'll see the subtitle file's language. On the right, you'll see its rating (if available, of course).
5. Click on any subtitle's name – and it will be automatically downloaded. This means that any pop-ups will disappear, and you'll return to streaming your video file.
This brings us to the end of our guide on how to get subtitles on Kodi. In case you have any questions, don't hesitate to post a comment below. And of course, feel free to share this article online with your fellow Kodi users. Thanks!

